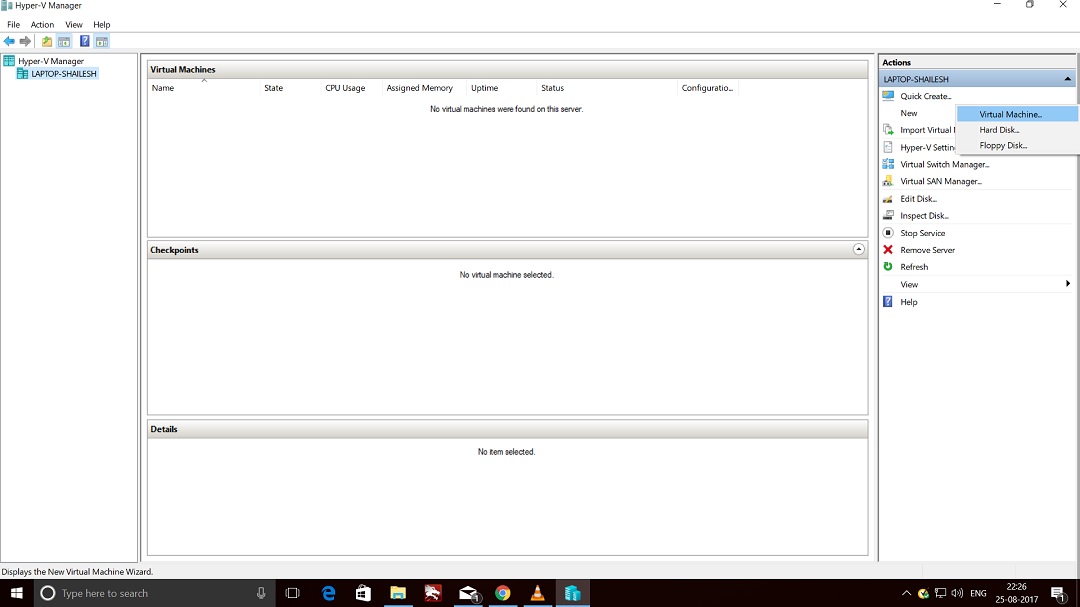
Step 1 – Open Hyper V Manager
First step is to open Hyper V manager. If you have setup everything correctly, you can search for Hyper-V Manager in Taskbar or you can find the shortcut in Start Menu under Windows Administrative tools.
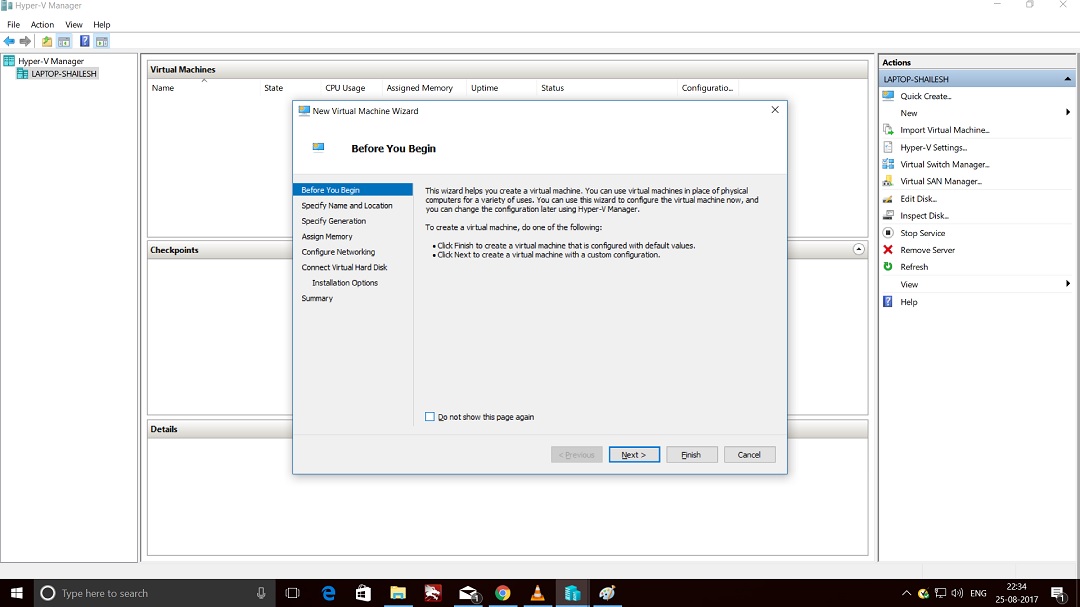
On the right hand side you will see New-> Virtual Machine. Click on Virtual Machine to launch New Virtual Machine Wizard and click Next.
Hyper-V Manager Screenshot
Hyper-V Manager – New Virtual Machine Wizard Screenshot
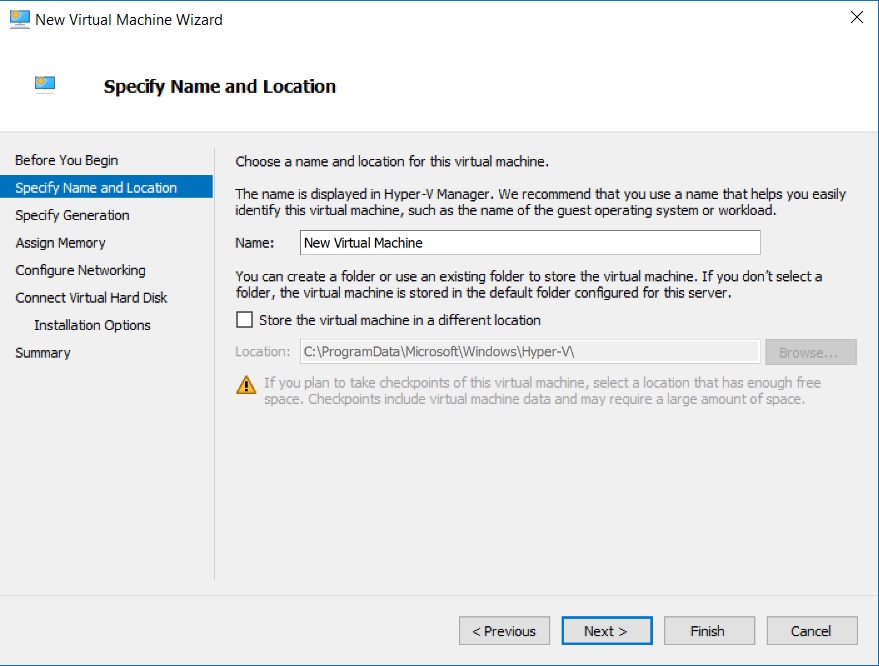
Step 2 – New Virtual Machine Wizard – Specify Name and Location
In this dialog box, please enter the name of the Virtual Machine. In our case, we can name our Virtual machine as CentOS 7 (Development), but you can specify anything according to your preference.
There is a checkbox to change the location where the Virtual Machine Files will be created. If you leave this unchecked, default location will be used, else check the box to change the location.
I normally leave it as default, but if you have disk space constraints, it better to specify the location in a different disk drive.
Hyper-V Manager – New Virtual Machine Wizard – Specify Name and Location Screenshot
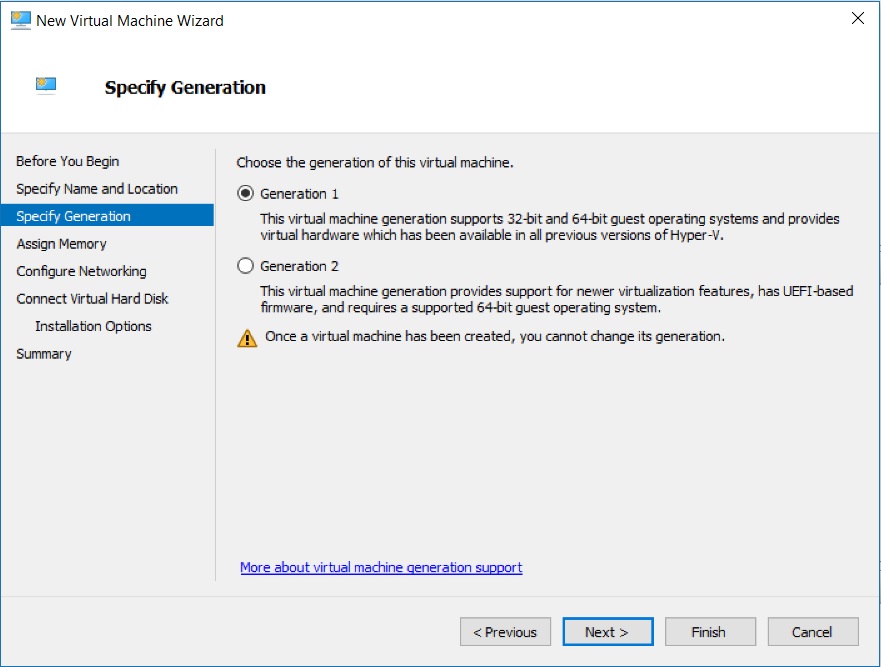
Step 3 – New Virtual Machine Wizard – Specify Generation
These days you can create two versions(Generation) of Virtual Machines. The latest one is Generation 2. Before generation 2 type virtual machines came into existence, there was nothing like generation 1 virtual machines. All virtual machines were the same. But from generation 2 virtual machines, older virtual machines were called generation one virtual machines. Generation one virtual machines supports legacy hardware. Generation 2 Provides the following new functionality on a virtual machine:
- PXE boot by using a standard network adapter
- Boot from a SCSI virtual hard disk
- Boot from a SCSI virtual DVD
- Secure Boot (enabled by default)
- UEFI firmware support
But lets not complicate things for ourselves and choose Generation 1 and click next.
Hyper-V Manager – New Virtual Machine Wizard – Specify Generation dialog box Screenshot
Step 4 – New Virtual Machine Wizard – Assign Memory
In this dialog box you will have to specify the amount of RAM you want to allocate to the virtual machine once the virtual machine is turned on.
By default it is 1GB(1024 MB), but I normally prefer 12GB(12288 MB). Also, uncheck Use Dynamic Memory for this Virtual Machine.
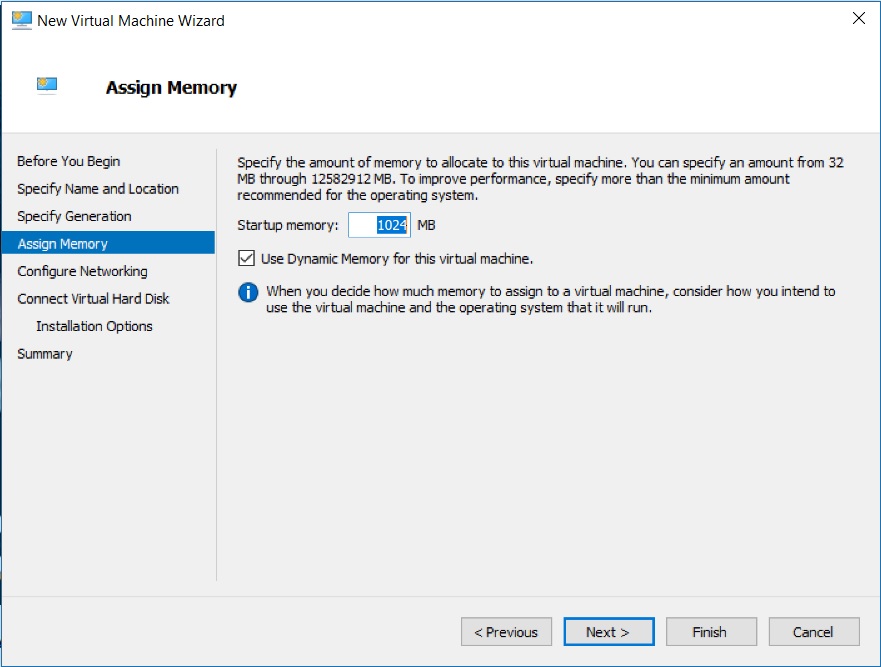
Hyper V Manager – New Virtual machine Wizard – Assign Memory dialog box screenshot
Step 5 – New Virtual Machine Wizard – Configure Network
For virtual machines to be be able to communicate with other virtual machines or internet, it should have a network adapter.
In this dialog box you will have to specify the network adapter. Please choose connection(external virtual virtual switch) from the drop down menu and click on next.
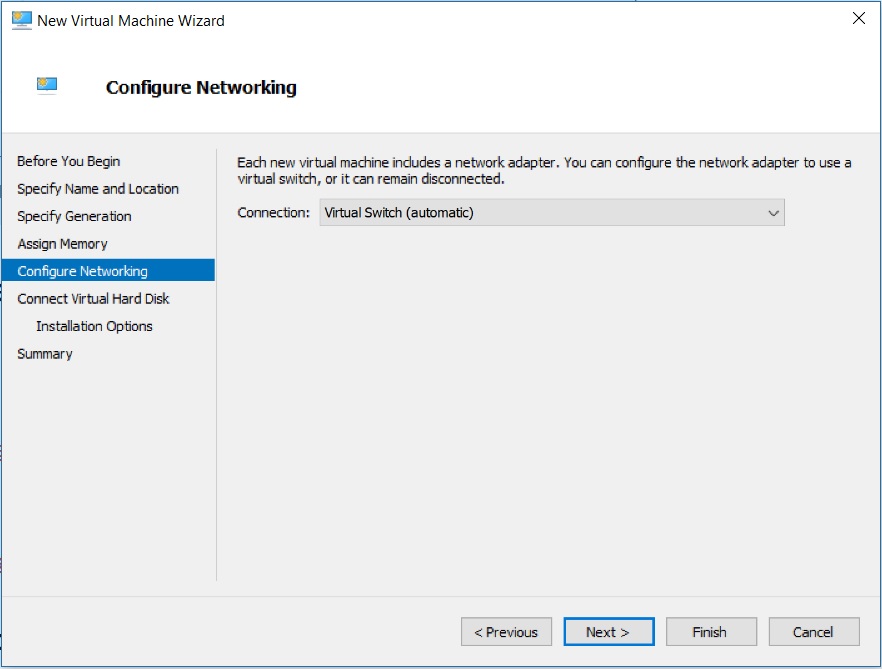
Hyper V Manager – New Virtual machine Wizard – Configure Network dialog box screenshot
Step 6 – New Virtual Machine Wizard – Connect Virtual Hard Disk
Virtual Machines require hard disk space. This is the place where you decide how much disk space you want to allocate to the virtual machine. For a development VM, its recommended to select around 64 GB of disk space.
Give Virtual disk a name of your choice. Please note that, not all of the allocated disk space will be used during the installation process.
It is dynamically created, that is it will expand as the usage grows with the maximum limit of what you specify as the virtual disk size. Give the name of the virtual hard disk, specify the disk space and click next.
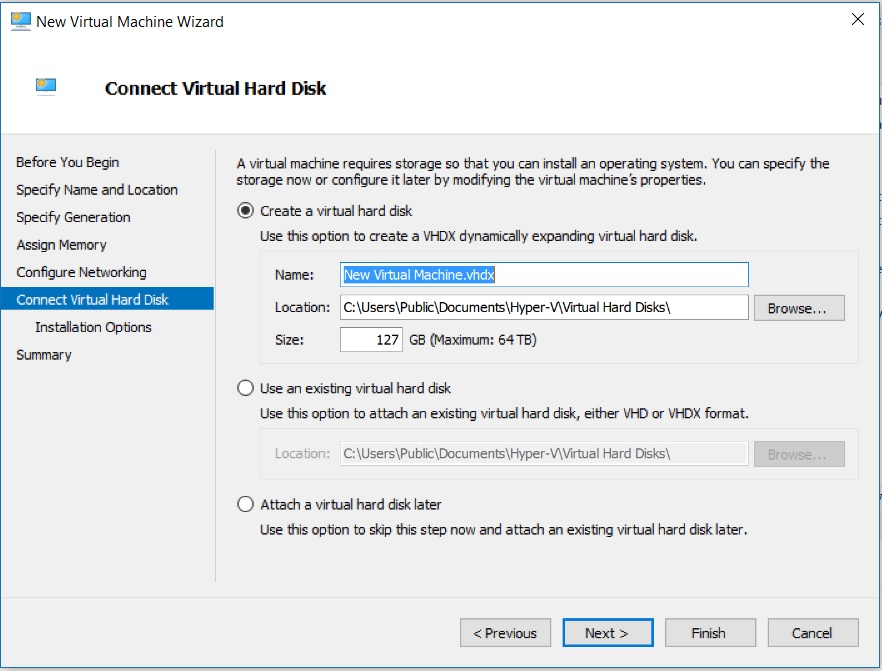
Hyper V Manager – New Virtual machine Wizard – Connect Virtual hard Disk dialog box screenshot
Step 7 – New Virtual Machine Wizard – Installation Option
In this dialog box you will be asked to specify the setup media.
Check Install an operating system from bootable CD/DVD-ROM -> Image File.
Browse to the downloaded ISO image file (CentOS-7-x86_64-Everything-1908.iso) and click Next.
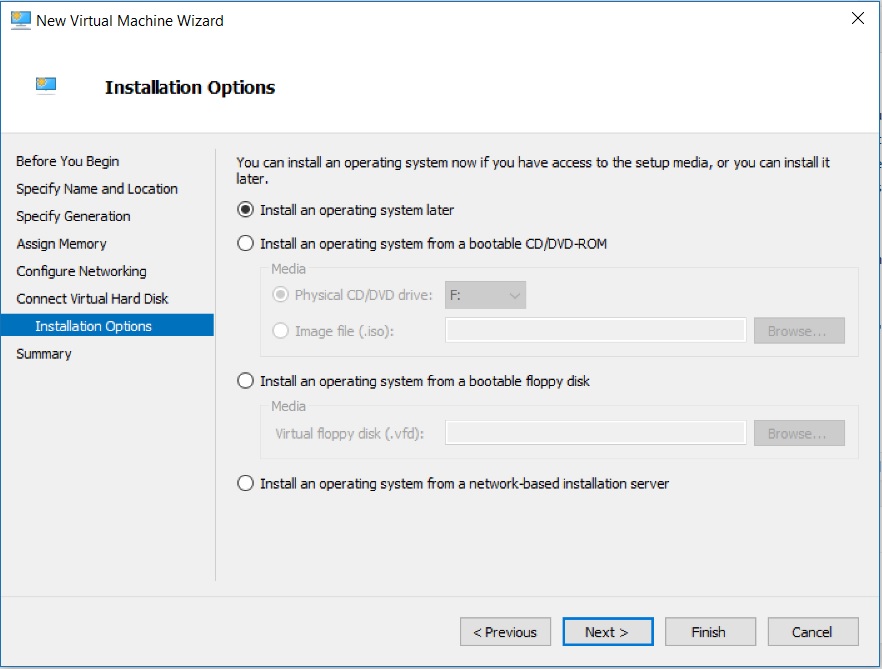
Hyper V Manager – New Virtual machine Wizard – Installation Options dialog box screenshot
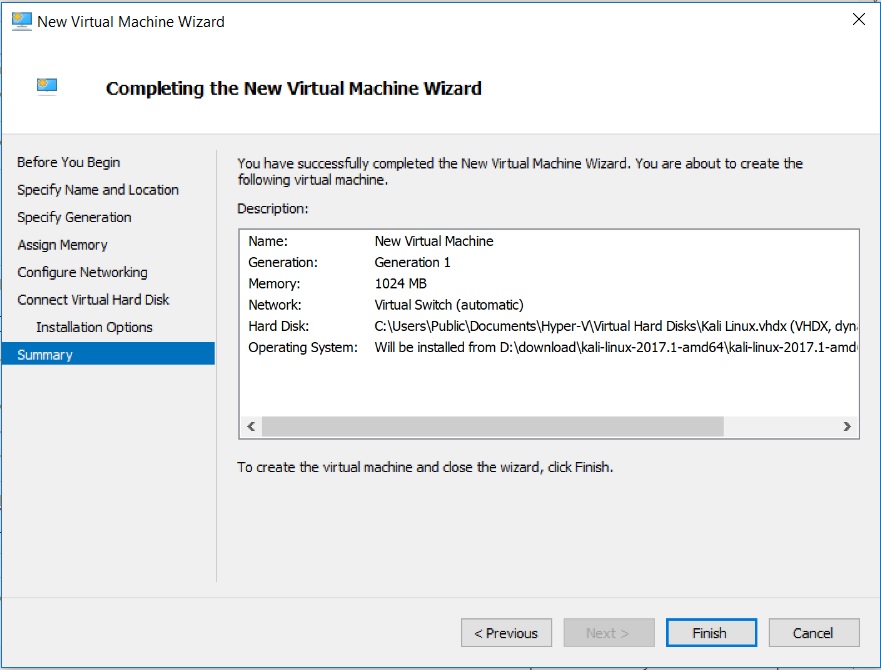
Step 8 – New Virtual Machine Wizard – Completing the New Virtual Machine Wizard
This dialog box will show you the summary of the options you have selected. Click Finish to create the Virtual Machine.
You will see the process for creating new virtual machine will begin. At the end end you will see Hyper-V Manager with the newly created virtual machine under Virtual Machine Box.
Hyper V Manager – New Virtual machine Wizard – Completing the New Virtual Machine Wizard dialog box screenshot
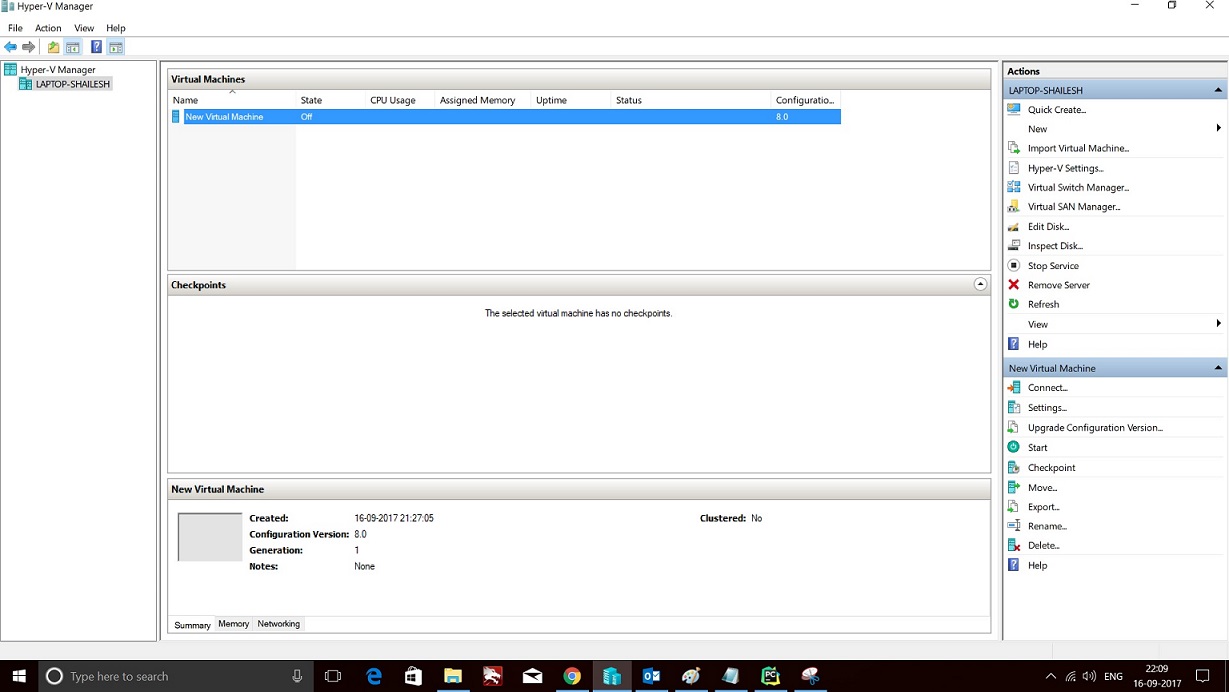
Step 9 – Hyper-V Manager- Virtual Machine Settings
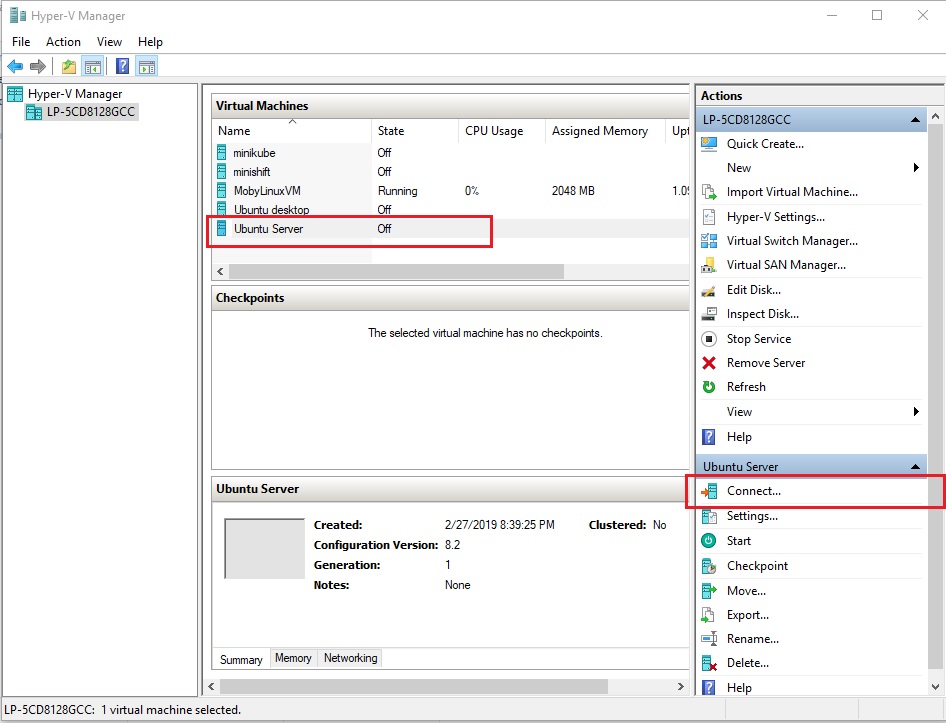
After the virtual machine is created, you will see the name of the virtual machine listed under Virtual Machines.
Hyper V manager
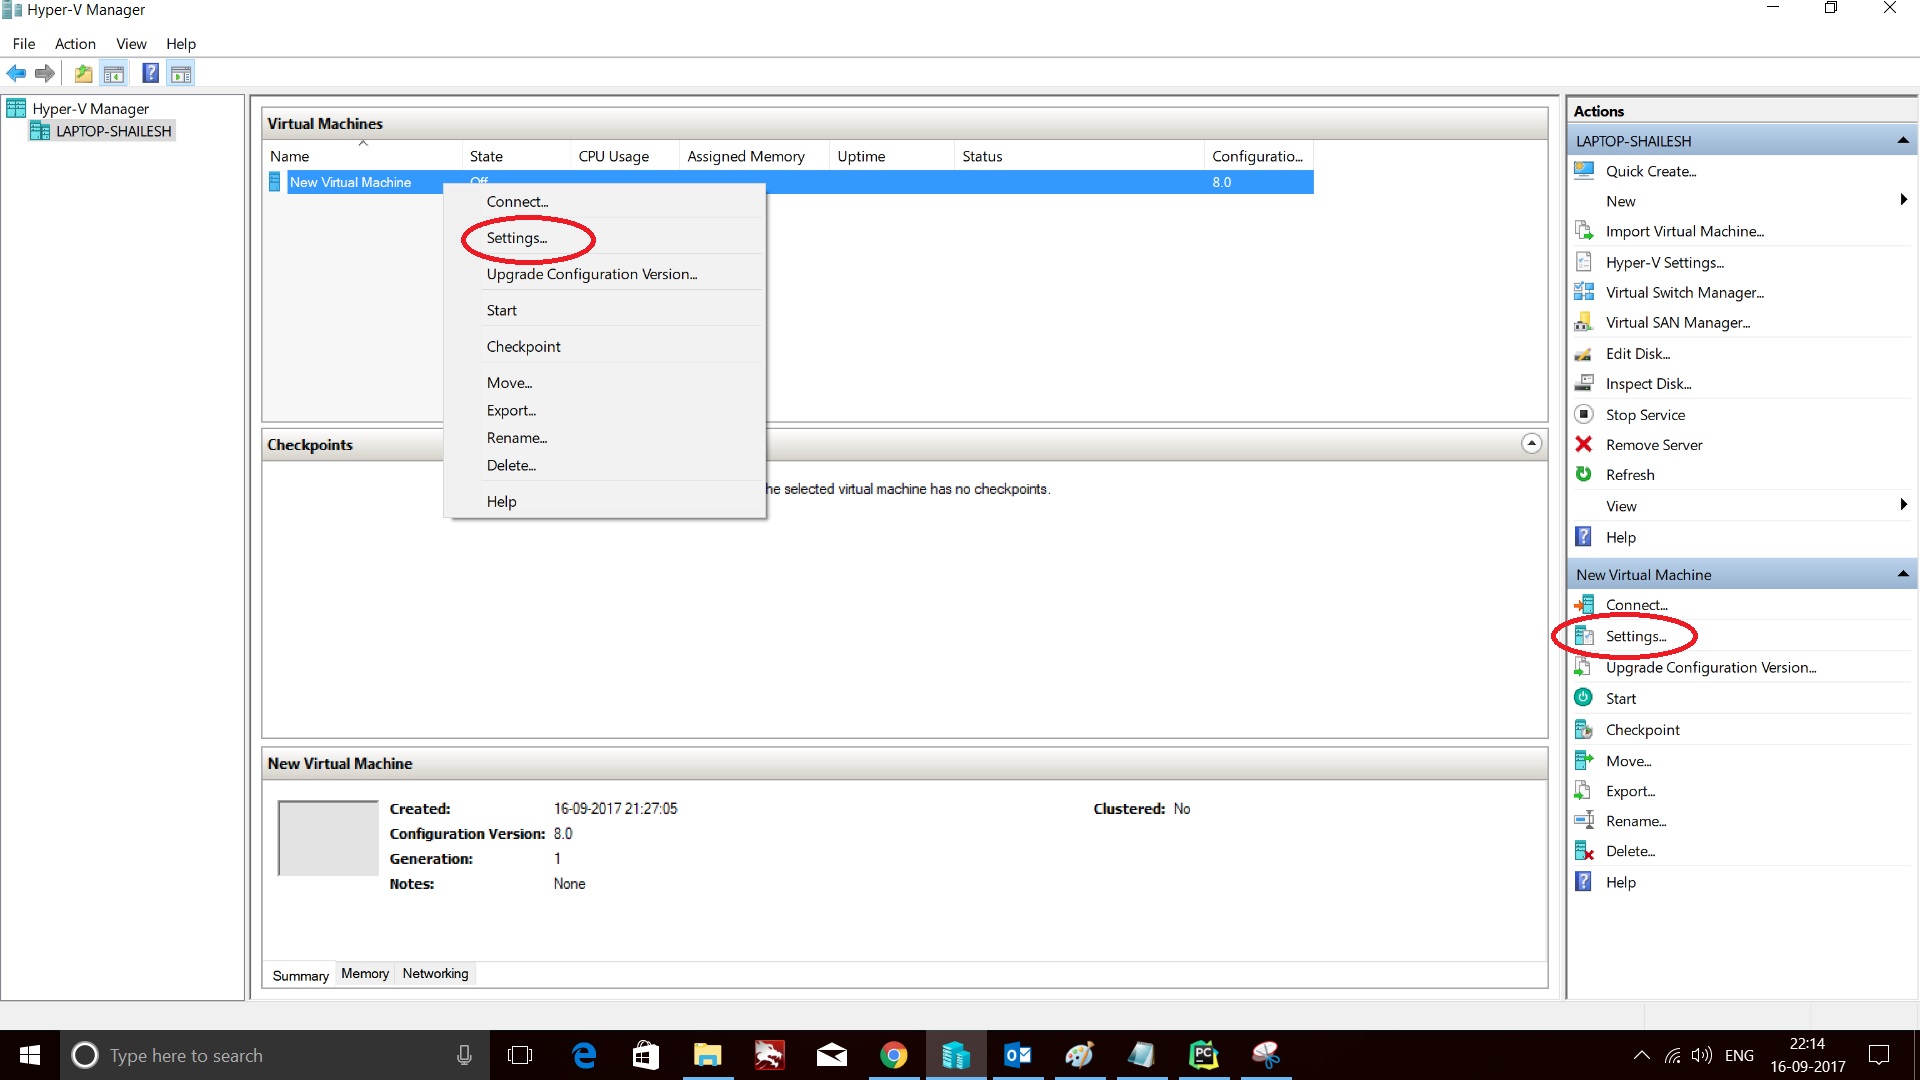
Right click on the name of the virtual manager and click on settings to change Virtual machine Options. You will also see settings option on the right hand side, as shown in the screenshot below.
Hyper V_manager – Virtual Machine settings
You can change the following most common virtual machine startup settings such as memory, network, CPU and so on…
Change Allocated Memory
here you can specify the memory with which the Virtual machine will start or boot. I normally choose 2048 MB(2 GB) and always check Enable Dynamic Memory.

Hyper V – Virtual Machine – Memory Settings
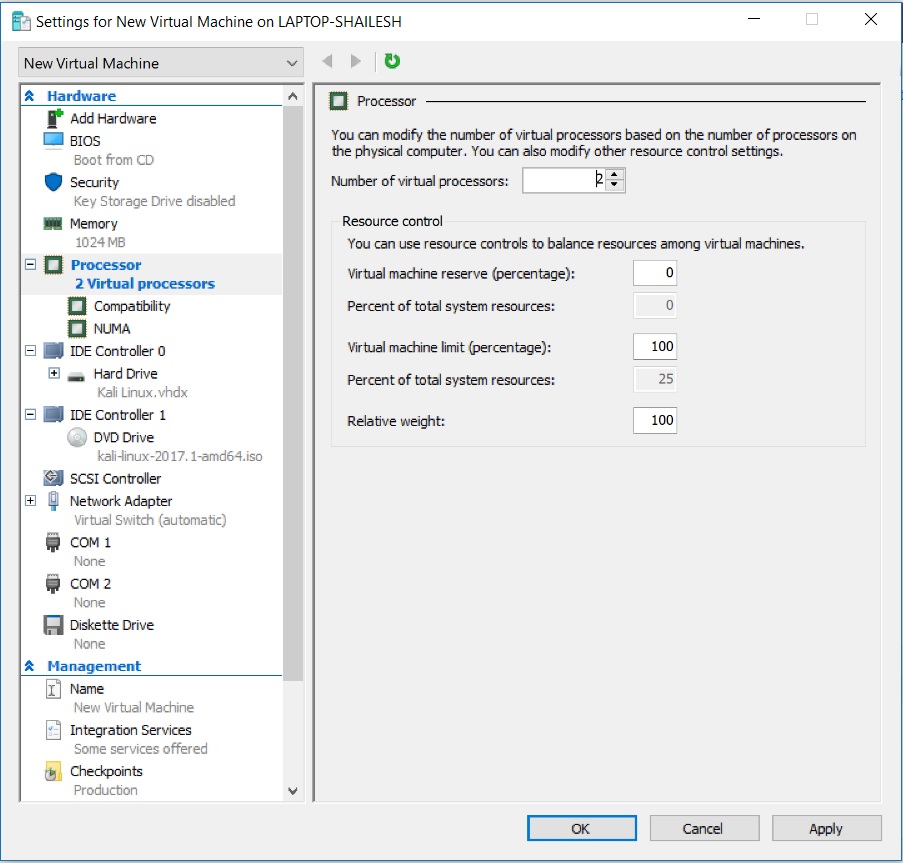
Change the number of Virtual processor
Here you can specify the number of Virtual processors. Normally I set it to 2 or 4 (preferred). It depends on the actual CPU your system has.
Hyper V Manager – Specify Processors for Virtual machine
IDE Controller
Here you can create virtual Hard drives and DVD drives. By default, one Hard Disk and one DVD drive is created. If you want additional ones, you can create it here.
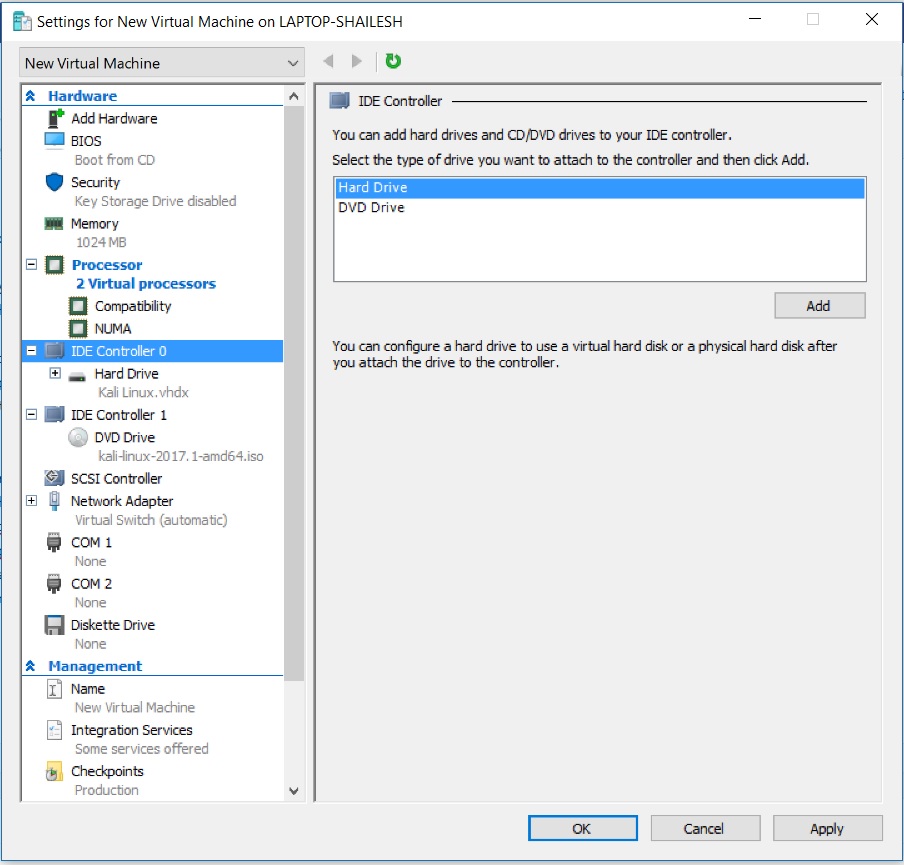
Hyper V Manager – Virtual Machine Settings – IDE Controller
Network Adapter
Here you can specify the network adapter to use for the Virtual machine.
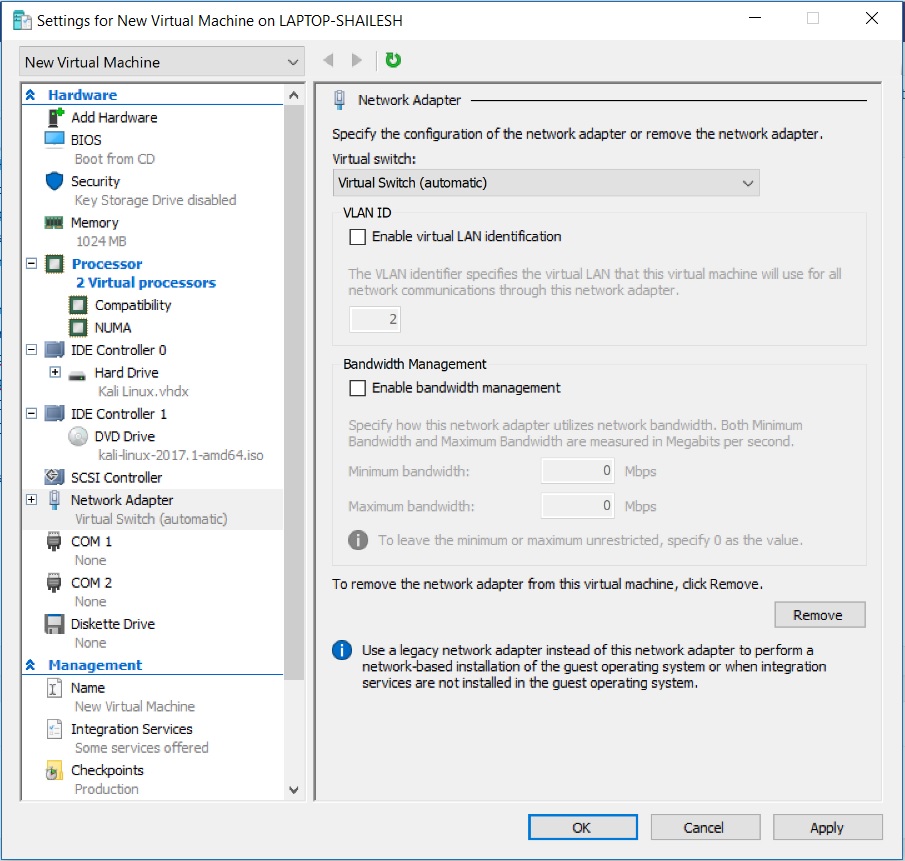
Hyper V Manager – Virtual machine Network Adapter settings
Floppy Drive
Here you can specify the floppy drive. Floppy drives and things of the the past and almost extinct. You can leave it as default which is none.
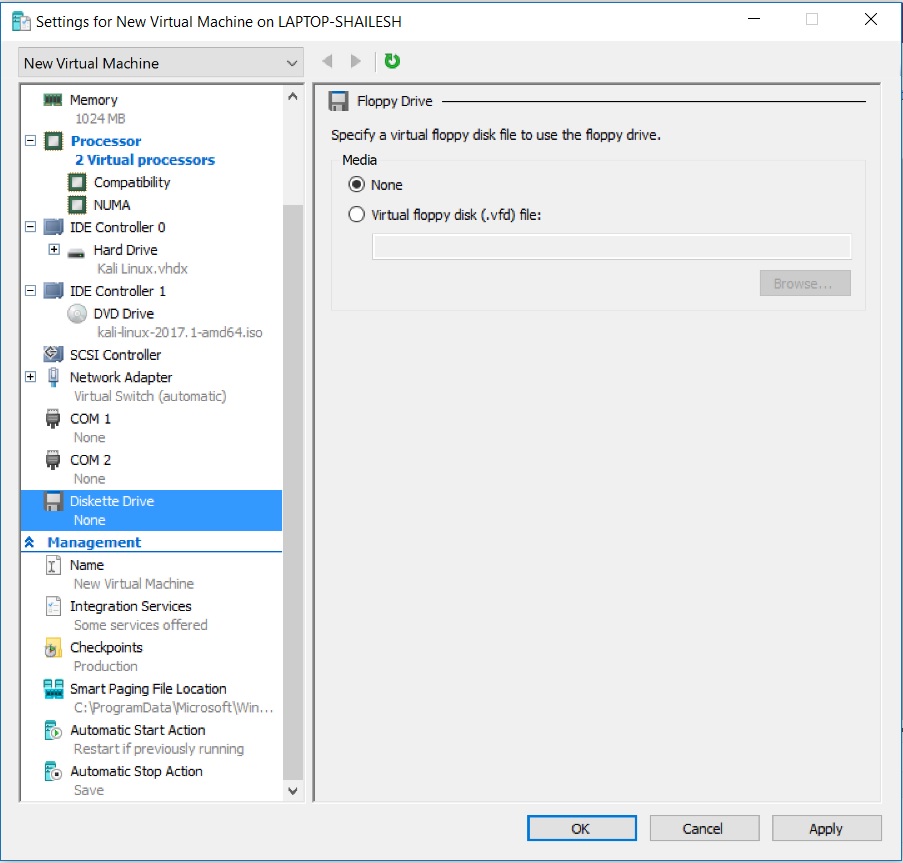
Hyper V Manager – Virtual machine Floppy Drive settings
Change Virtual machine name
If you wish to change the name of the virtual machine, you can do it here.
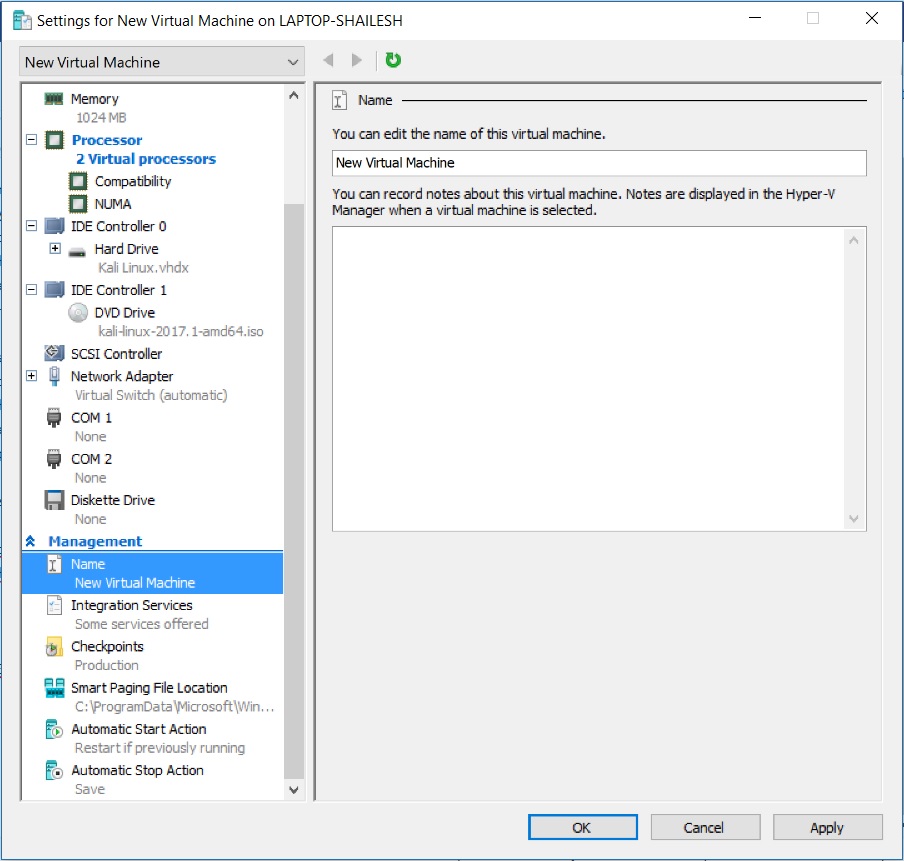
Hyper V manager – Virtual machine Name
Step 10 – Connect to virtual machine
Now lets get started with the installation process. Click on the Virtual machine name you have created and click on start. This will start the CentOS VM. If you don’t see a new window popup, select click on connect. You will see the Virtual Machine window.
Hyper-V – Install CentOS
Step 11 – Start virtual machine
If you have clicked on Connect, you will see the screen below. You will have to click start to start the VM. If you have clicked start first, VM will start but you will not see the below window. In that case you will have to click on Connect.
Click on Start to start VM.
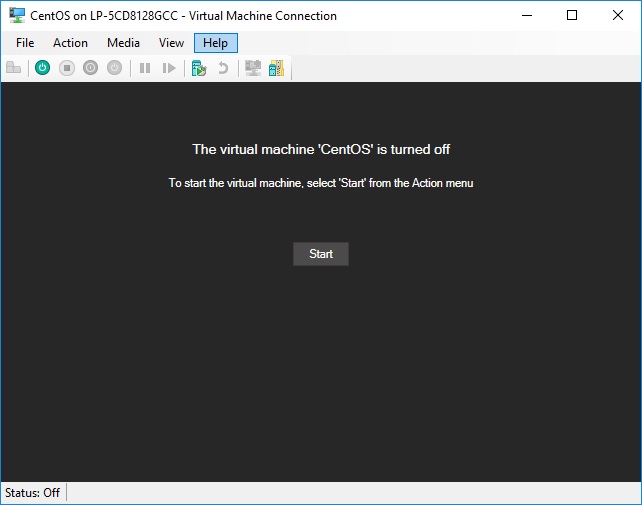
Hyper-V CentOS VM
Start the Virtual Machine by clicking on start.
Step 12- Installation process should begin
You will see the below screen. Press “i” in your keyboard and press enter.
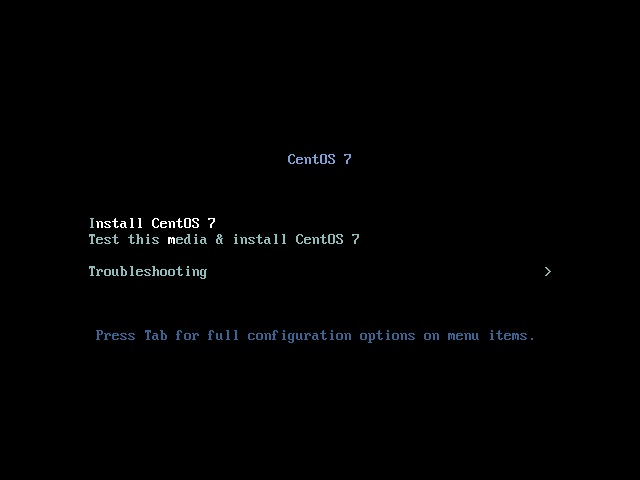
CentOS installation
Step 13- Welcome to CentOS setup wizard – select language
Once the installation starts, you should see a dialog box asking you to select your language. Select the language of your choice and click on continue.
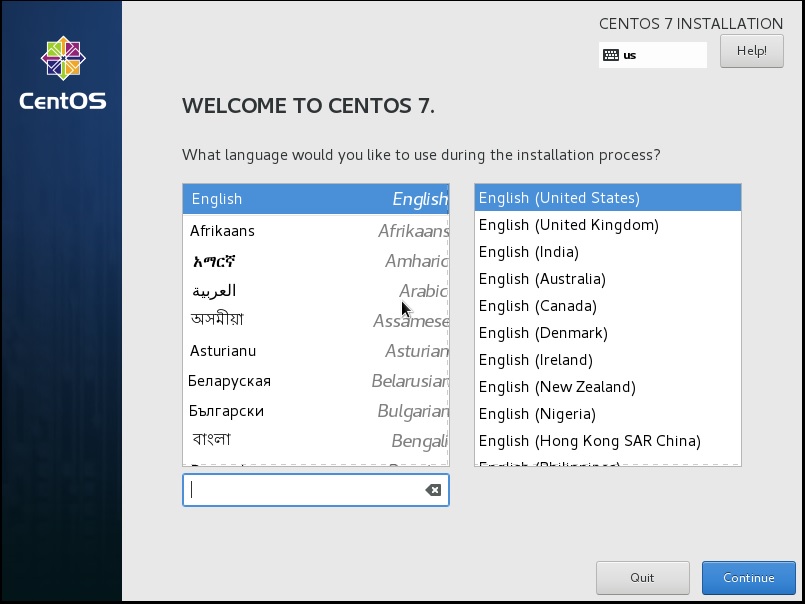
CentOS setup choose language
Step 14 – CentOS Setup – Installation summary
Now you should see the installation summary. If you see some grayed out area, please wait for a while until you see the below screen.
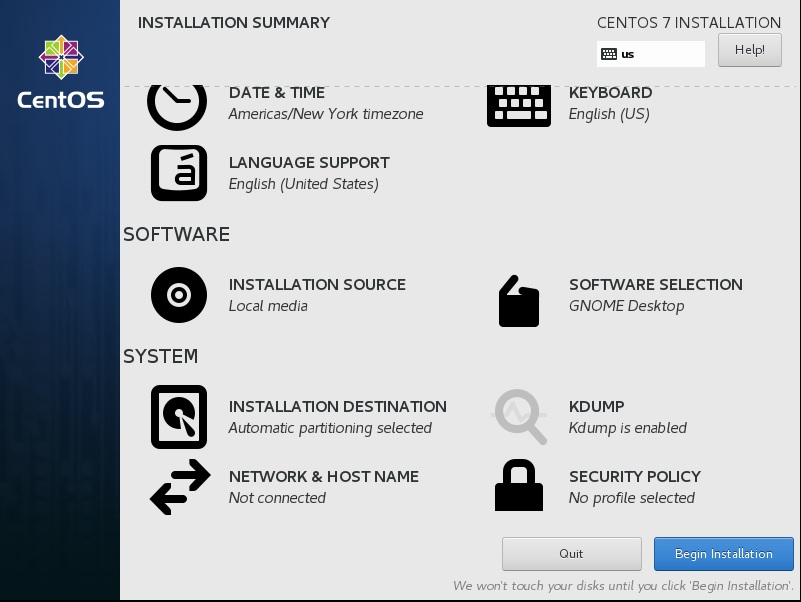
CentOS setup installation summary screenshot
Click On Software Selection and select Server with GUI and click on Done and then click on begin installation.

CentOS setup – software selection – base environment
Step 15- CentOS setup – setup root password and setup user
The installation process will begin and you will be presented with a screen to configure root password and create user as shown below.
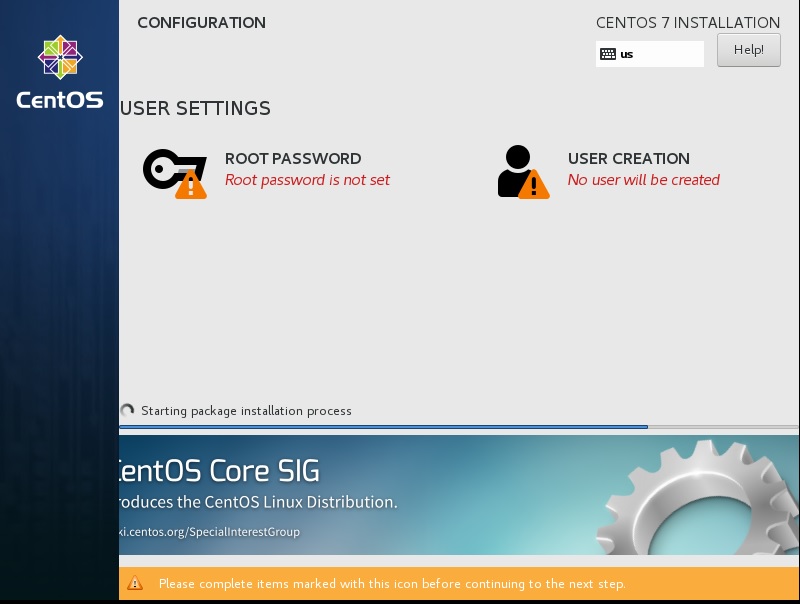
CentOS Setup – setup root password and create user
Click on Root Password, you should see a dialog box to enter your root password.
Enter your root password and click on done. If you get weak password warning, click on Done Twice.
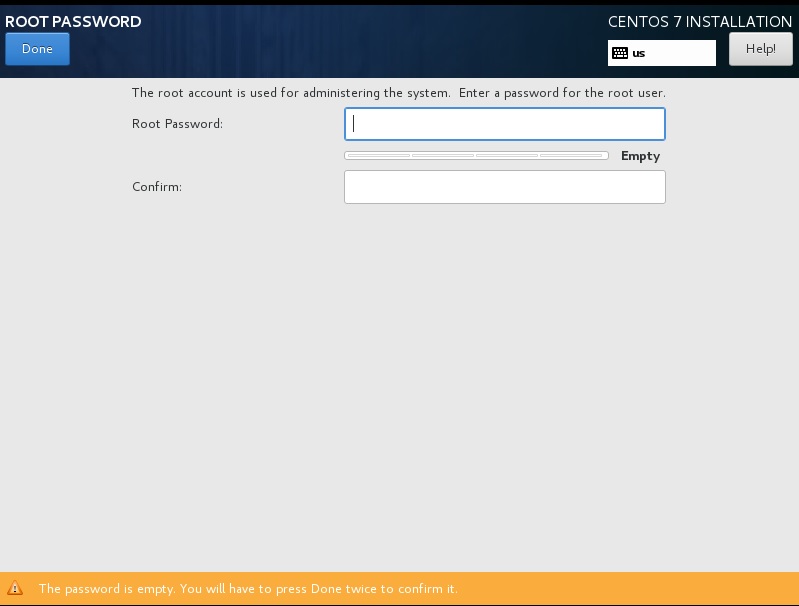
CentOS setup set root password dialog box screenshot
Once root password is setup, click on User Creation.
In the dialog box will enter the name of the user, password, check the box if you want to make the user administrator. If you get weak password warning, click on Done Twice.
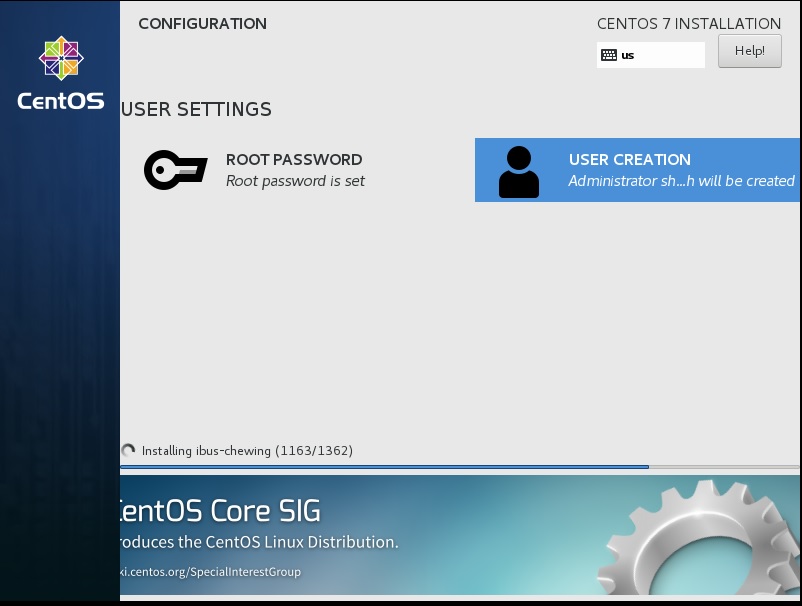
Centos setup – User creation
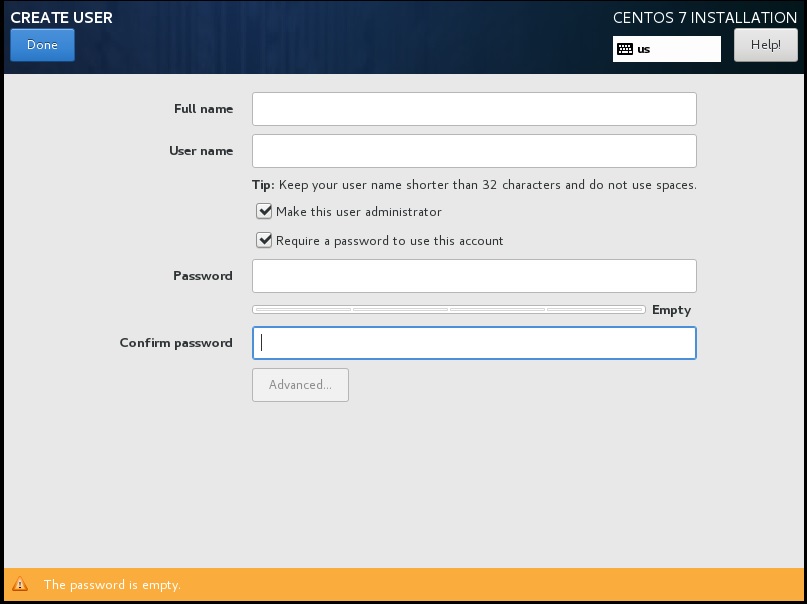
CentOS Setup – Create user dialog box screenshot
It might take a while for the installation to complete. So relax Let the installation complete at you will be asked to restart once done. Please go ahead and click on Reboot.
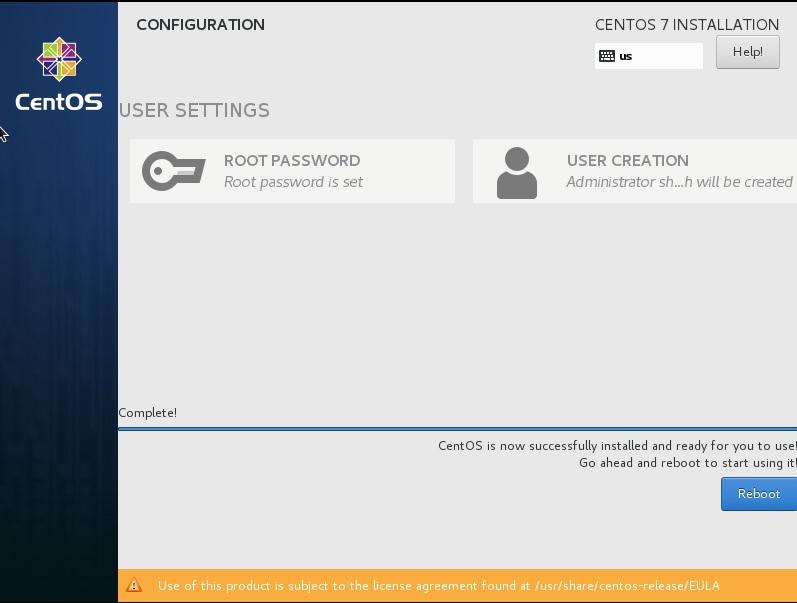
CentOS Setup – Installation complete – reboot
Step 16- CentOS – Initial Setup
Once the system restarts, you will be see the below initial setup screen.
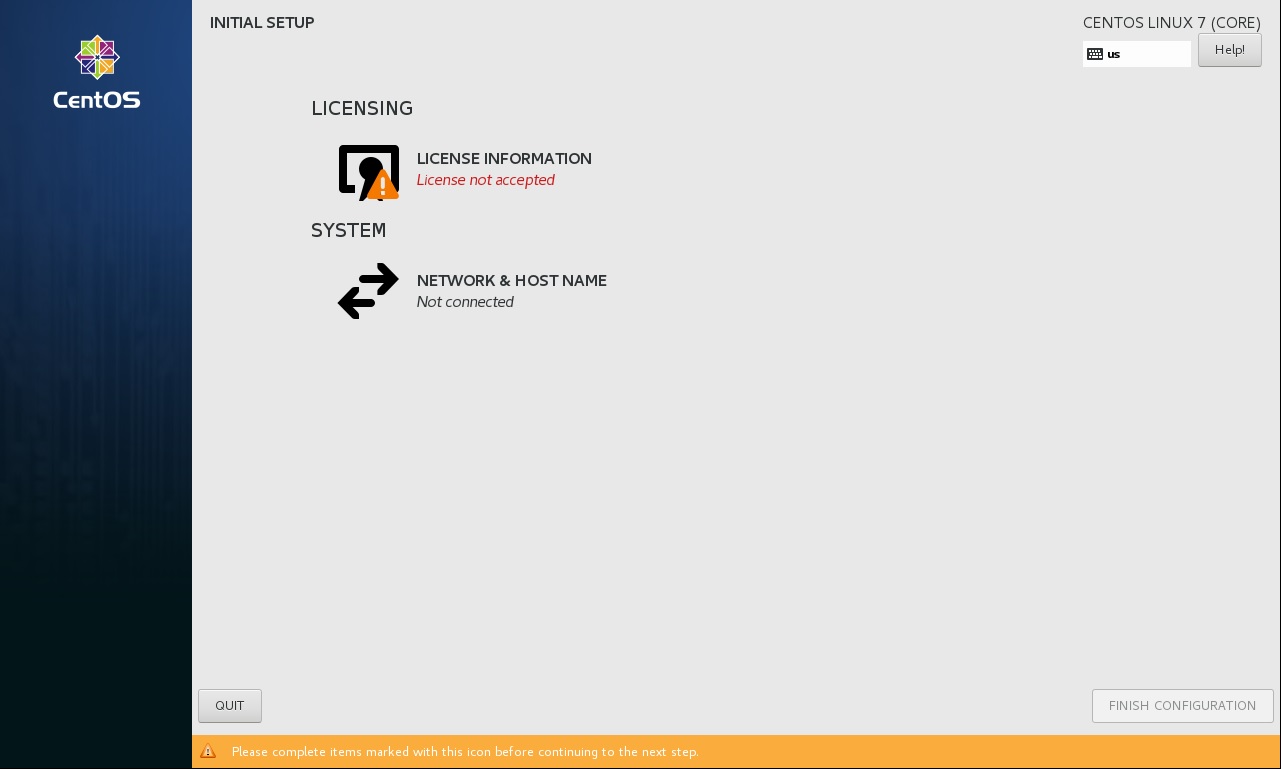
CentOS Installation – Initial setup
Click on License Agreement. In the dialog box that you see check the license agreement at the bottom of the screen and click on done button at the top of the screen.
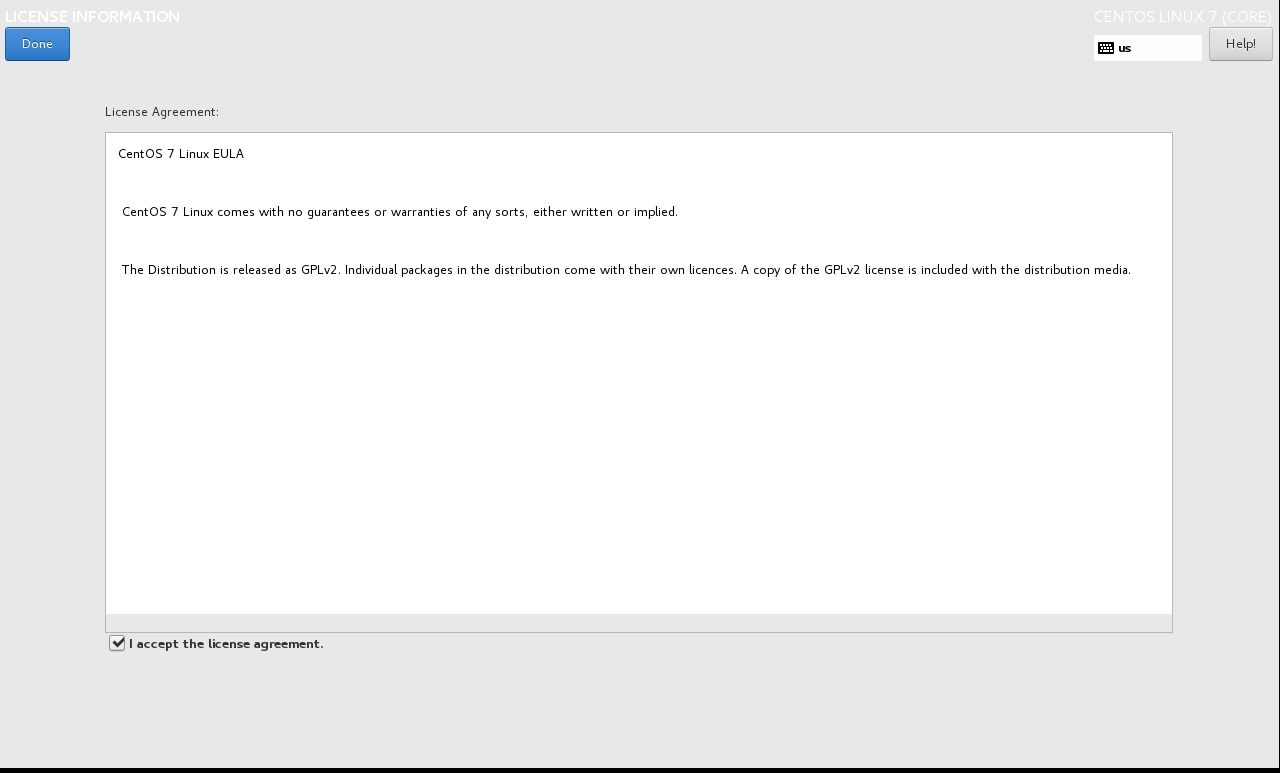
CentOS Installation – License Agreement
Click on Network setup and Hostname and turn it on. Network should configure automatically if you are connected to the internet.
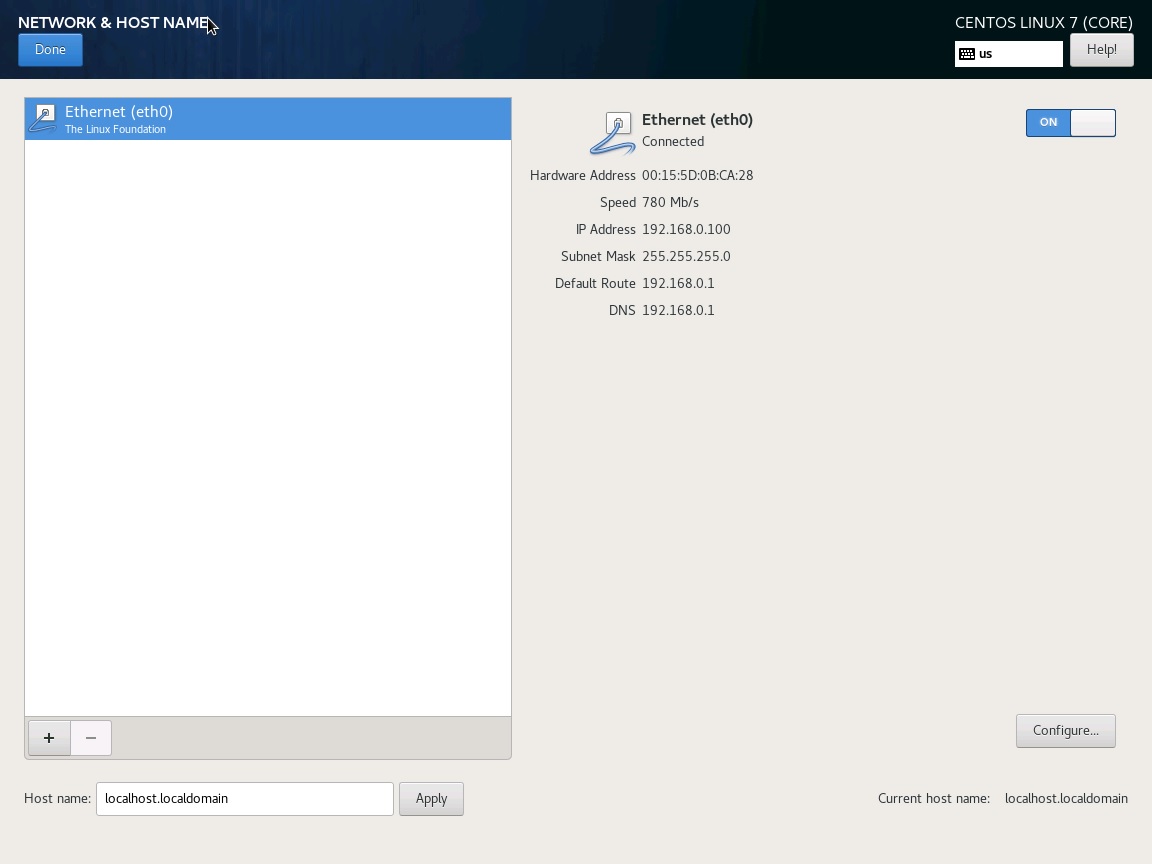
CentOS installation – enable network and hostname
Step 17- CentOS – Login
After the VM starts, you will see the boot loader. Select the first option and hit enter to boot.
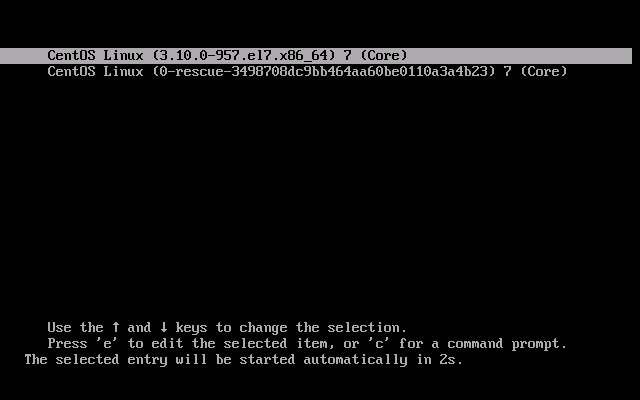
CentOS boot loader
Now you will see the login screen. You will see the user name you created earlier. Click on the user name and enter your password which was setup earlier.
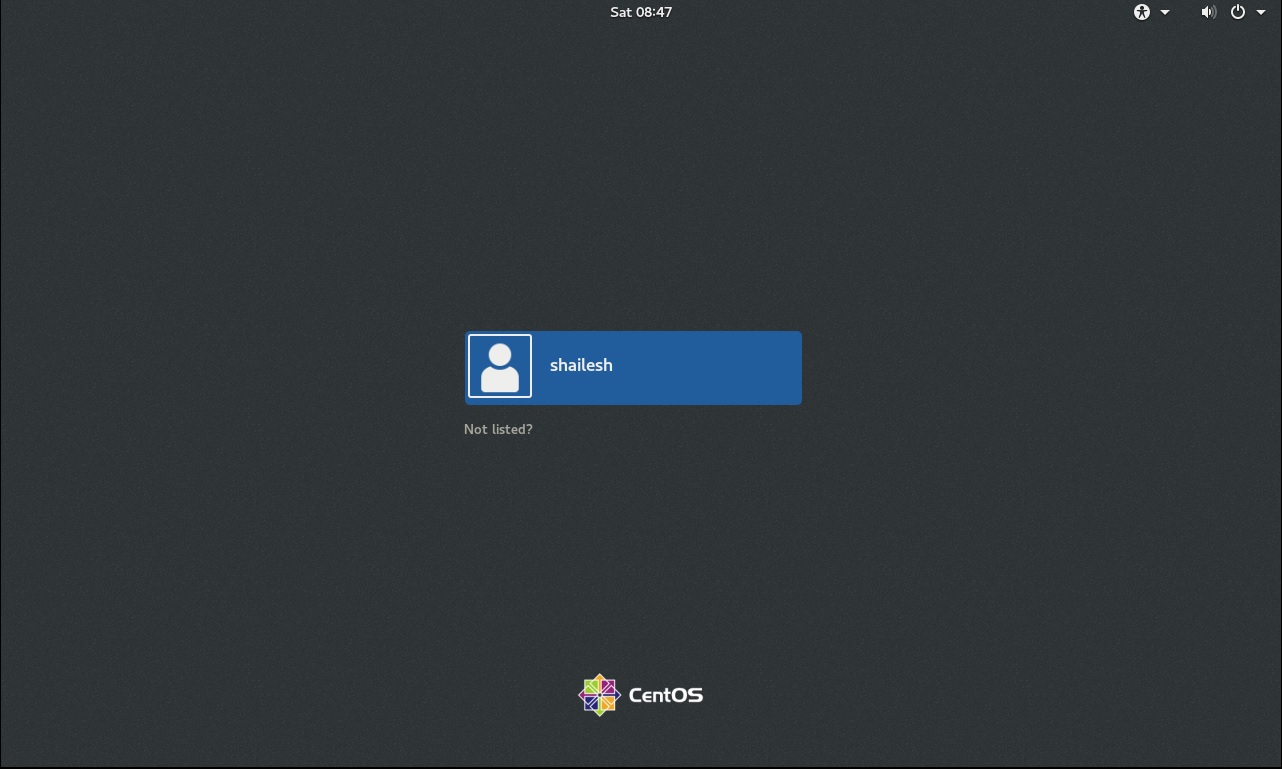
CentOS Installation – Login screen
Enter your password in the resulting screen. Now you will see the CentOS desktop. There are some more settings required. You will see a welcome screen
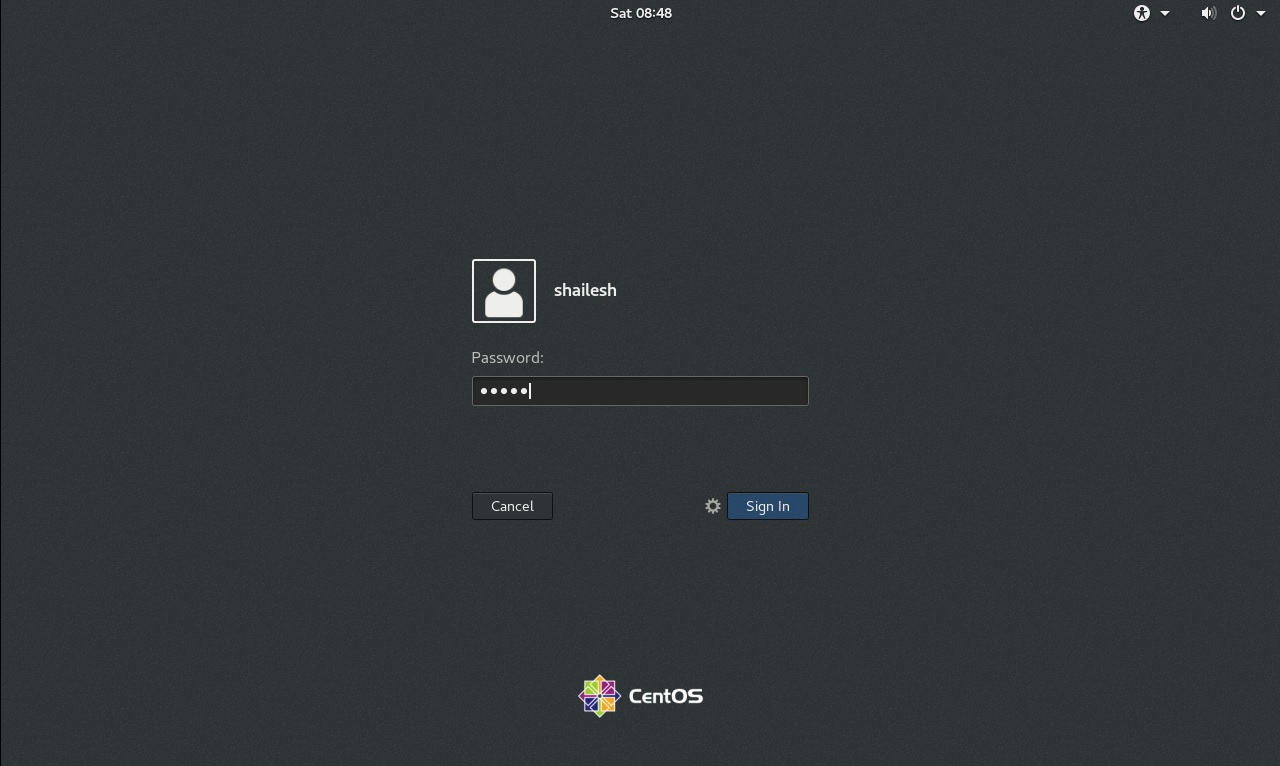
CentOS Installation – User password
Step 18- CentOS – Welcome Screen – language preference
Once you have logged in for the first time, you will asked to select your default language in the welcome screen. Select the language of your choice and click on next.
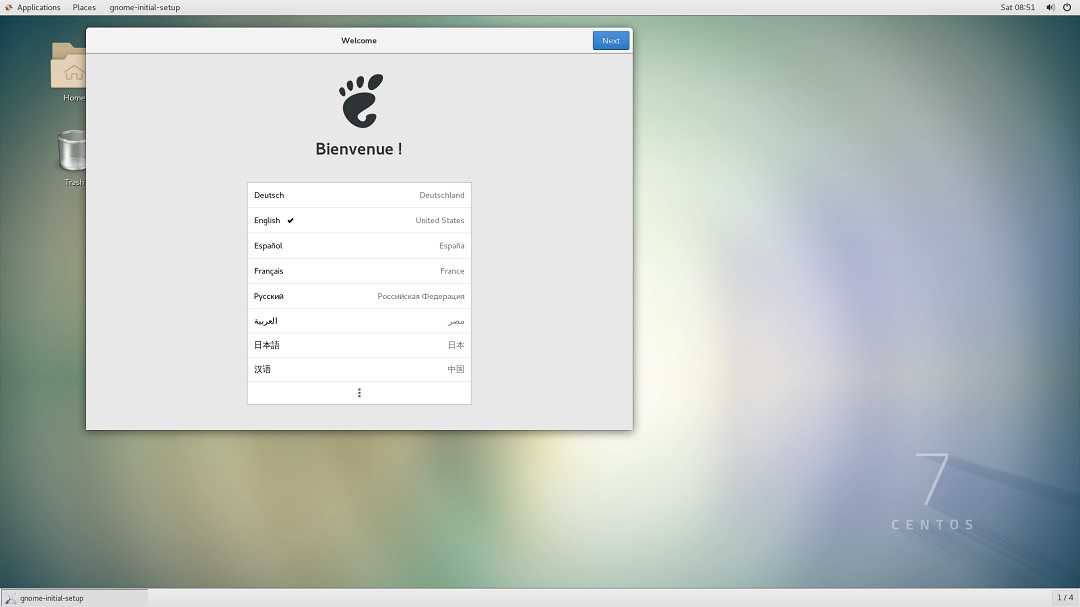
CentOS Installation – Welcome screen – language preference
Step 19- CentOS – Welcome Screen – Keyboard preference
Now you will be asked to set your keyboard. Select based on the keyboard preference you have.
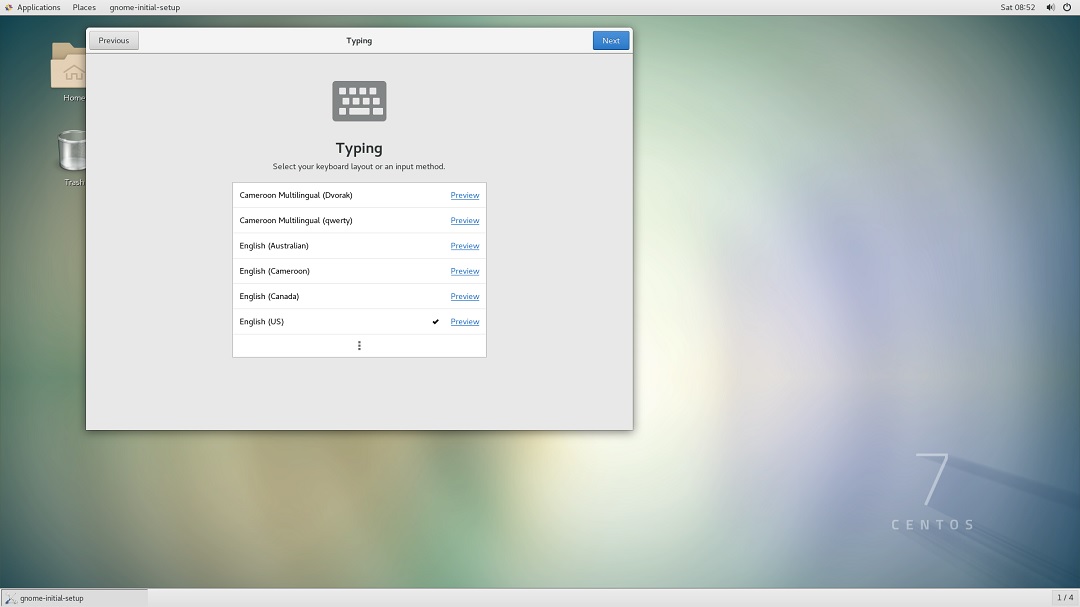
CentOS installation – Welcome Screen – Keyboard preference
Click next to continue.
Step 20- CentOS – Welcome screen – privacy
Now you will be asked to set your privacy which is basically, if you want the application to use the location service. Select yes or no using the slider. Click on next to continue.

CentOS Setup – Welcome screen – privacy preference
Now you will be asked if you want to give color access to your location. You can accept or deny. I usually accept.
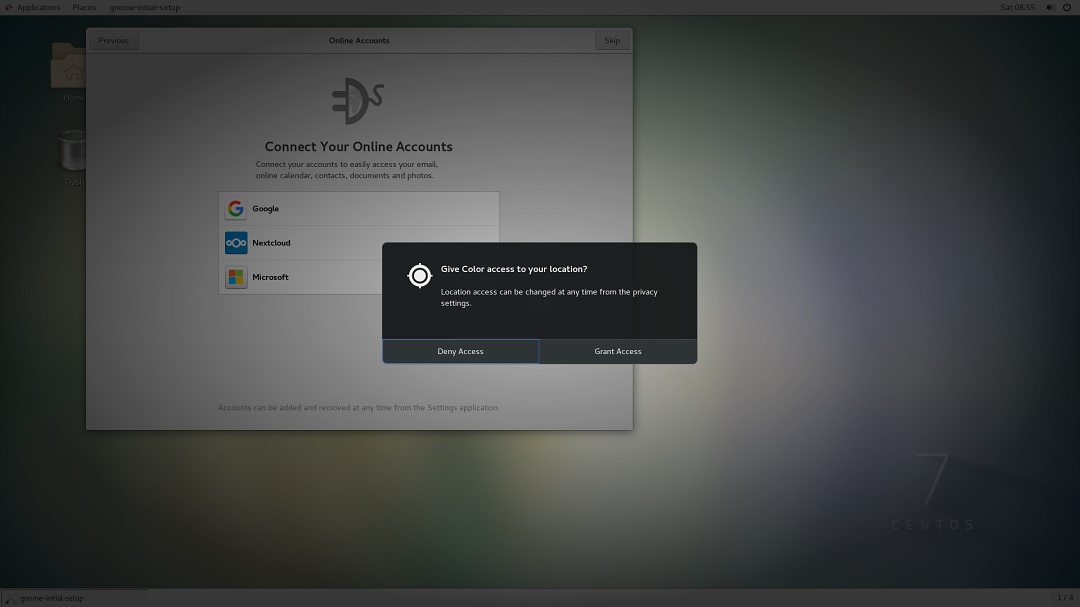
CentOS Setup – Welcome screen – location color access
Step 21- CentOS – Welcome screen – setup online account
Now you will be asked if you want to setup online account such as Gmail etc.. for setting up mail and other services.
I generally don't set it up here. If you want to set it, click on the service and you will be redirected to the the service provider authentication system where you will have to enter your user ID and password.
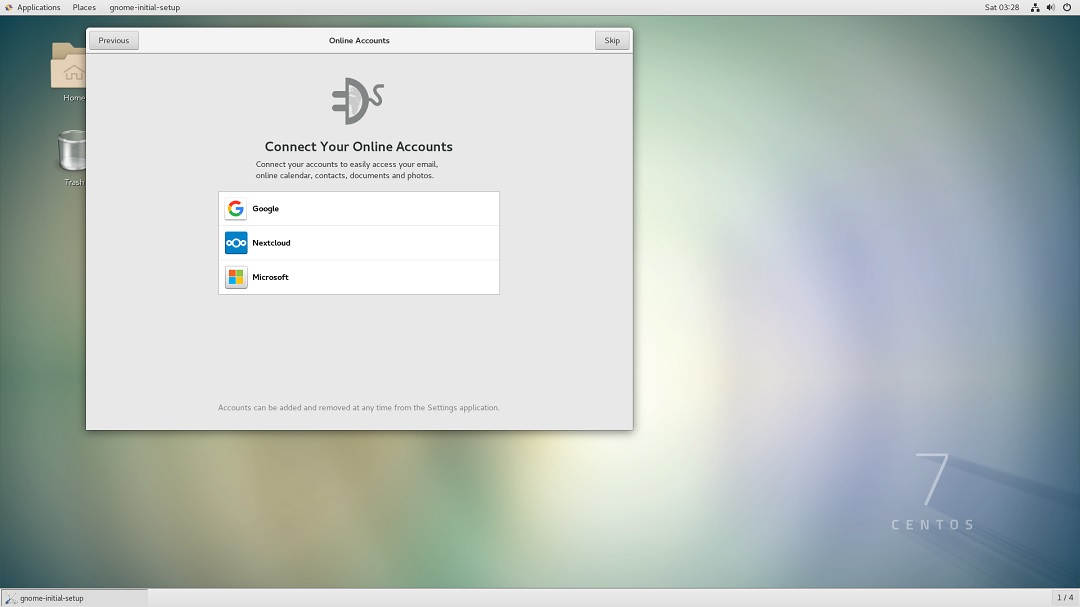
CentOS installation – welcome screen – connect your online account
Step 22- CentOS – Welcome screen – All done
That it. Click on start using CentOS.
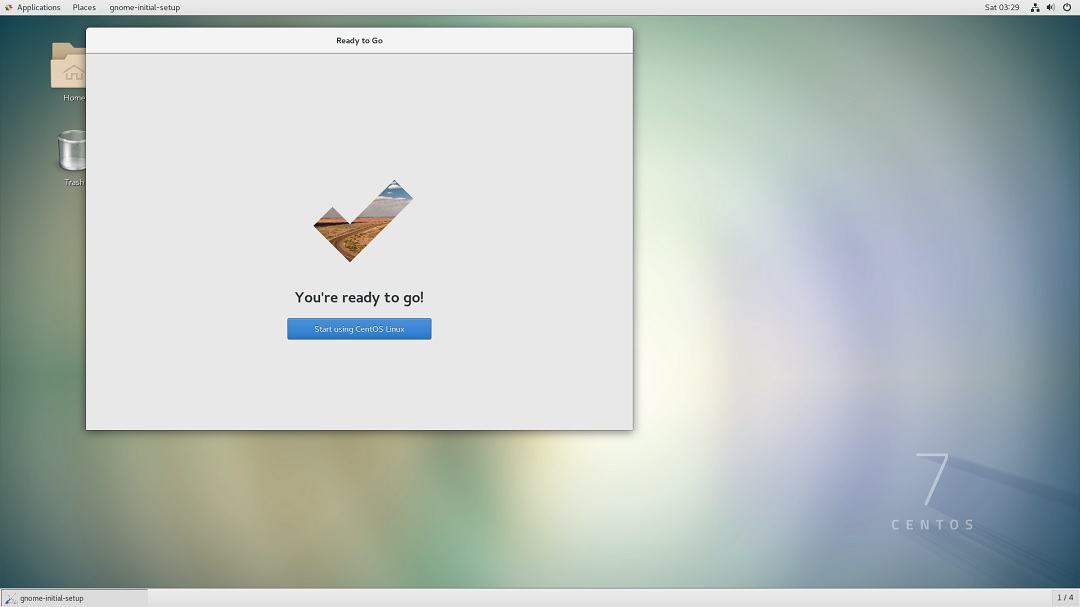
CentOS setup complete
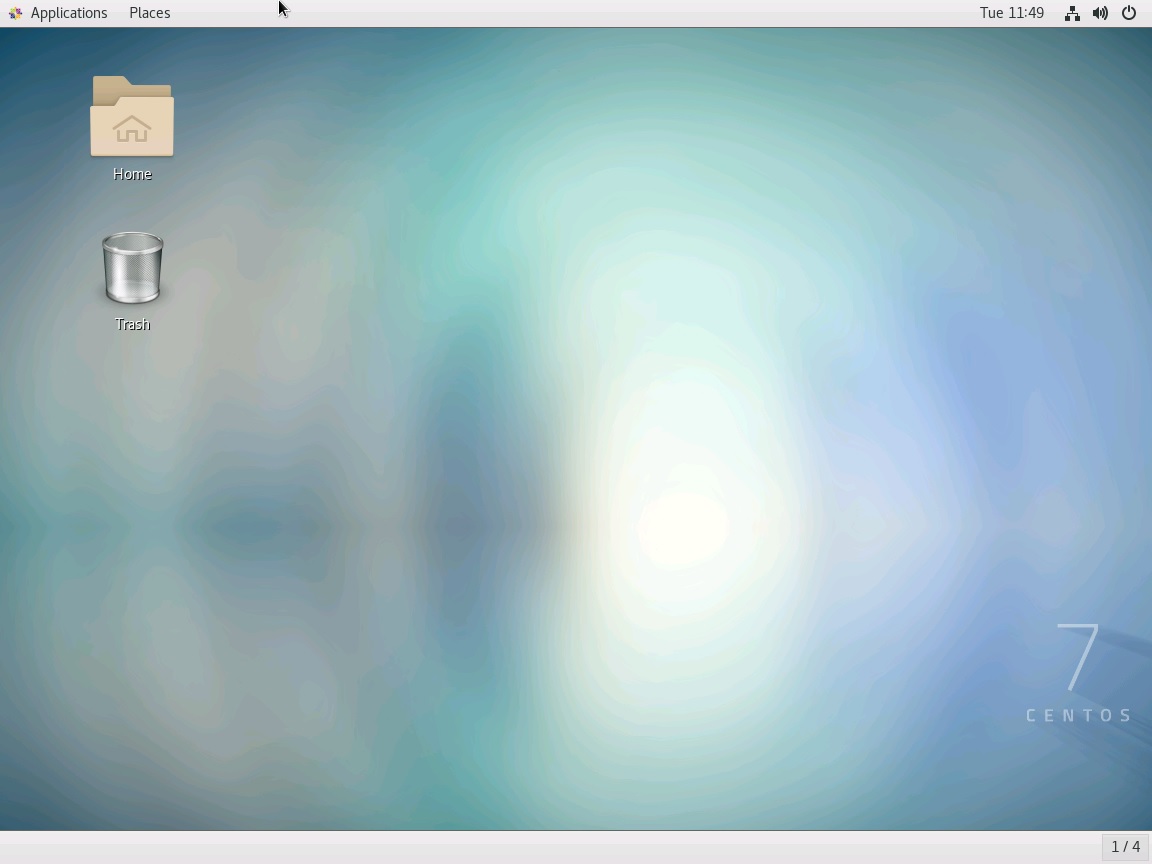
CentOS Desktop
That it you are done.