Objects are ingested into the Islandora Repository by being added to a digital collection. This tutorial will run through the steps to creating a new object in Islandora.
1. Navigate to the Islandora Repository
On a standard installation of Islandora 7.x, the Islandora Repository's root page can be accessed through the address http://path.to.your.site/islandora; this will take you to the top-level collection.
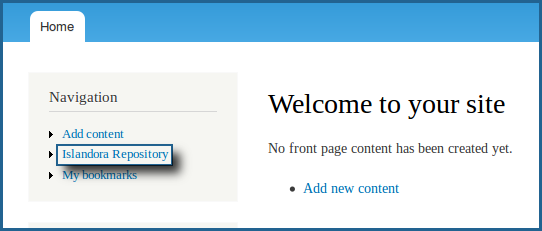
If the 'Navigation' block has been placed using your site's /admin/structure/block configuration page, a link to the Islandora Repository will also show up on any page that block has been enabled on.
2. Choose a collection to add the item to
Each item you ingest into the Islandora Repository will need to be added to a collection. A collection is represented (by default) by an image of a folder in the repository section of the site - and the digital collection you choose will need to be already set up with a Content Model in Collection Policy that matches the MIME type of file you would like to ingest. For more information on how to create new collections, check out the section How to Create a New Islandora Collection, or for information on adding or removing Content Models from a collection policy, check out How to Manage Collection Policies.
In the example we're using here, the name of the collection is shown below the folder in the image below, and that folder has already been set up to use the 'Islandora Basic Image Collection' Content Model.
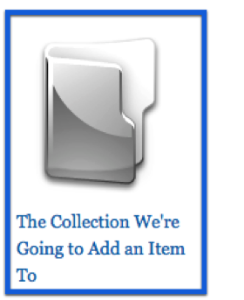
Click on the folder to enter the collection.
3. Click the collection's 'Manage' tab

This will take you to the collection's administrative page.

This will bring up a list of ways to manipulate the collection.
5. Choose 'Add an object to this collection'

This brings up the form for a single-object ingest.
If the collection you are ingesting the object into has more than one Content Model applied to its Collection Policy, the first screen that comes up will contain a drop-down menu similar to the following:
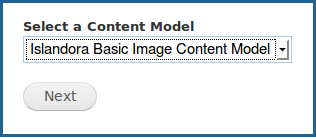
Simply choose the Content Model that fits the file you wish to upload, and click 'Next'.
6. Fill out the object's metadata form
The form for an object varies from Content Model to Content Model. In addition, some content models may have multiple forms one can choose from; this can also depend on the needs of the organization who installed Islandora. For production installations of Islandora, it is best to check with the organization who runs the site for policies regarding which form to use in what situation, and which fields need to be filled in what way.
7. Upload and ingest a digital file
This can be done in three steps:
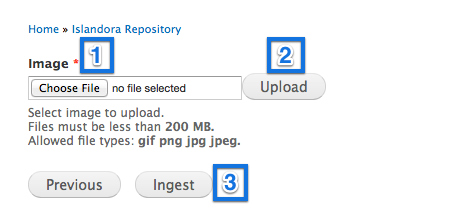
- Choose file to select file inside your computer
- Upload the file to the server
- Click the 'Ingest' button to let Fedora turn it into a new object
You will receive a message at the top of the screen when your object has been successfully ingested.
8. View your file in the repository
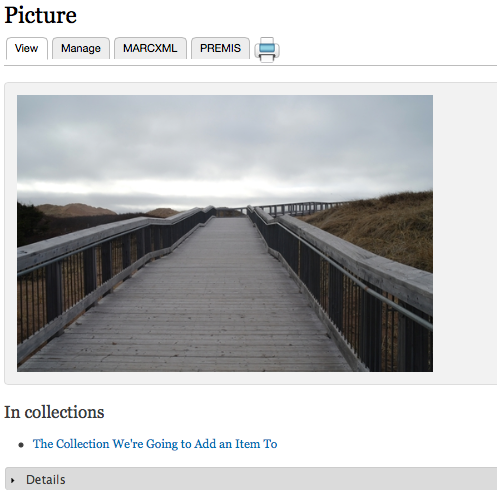
Upon completion, you will be brought to the new object's page in the collection. You may now manipulate the file or verify its details.


