General information
You will be able to upload files to the buckets you've created (see How to Create Buckets). After your content has been uploaded, it will be mirrored in Glacier Deep Archive in the bucket that duplicates your bucket names with the-repl suffix. You will not be able to do anything with the content in the -repl bucket. You will be able to see filenames, as a reassurance that your content has been mirrored, but if you attempt to download or get information about the files, you will likely encounter "Access denied" or "Failure to read attributes of [filename]. Forbidden. Request Error" or other errors. Files in these -repl buckets will only be accessed in the event of checksum failure in your active file structures, so those files can be replaced by this Glacier Deep Archive copy.
NOTE: you will be able to delete files you've uploaded within 7 days of initial upload. After that, your files (unless they're in a -public bucket) will be moved to Glacier Instant Retrieval and will be much more difficult to retrieve, download, and/or delete from that storage service. We recommend confirming you've uploaded the content you meant to, to the correct buckets, within a few days of initial upload.
CLI option:
\\\\\\CONTENT\\\\\
Cyberduck option:
Cyberduck documentation on File Transfers
- Uploading folders or individual files is as simple as clicking and dragging from a folder in File Explorer / Finder into Cyberduck client. Alternatively, you can click on the "Upload" button in the Cyberduck client to browse which files or folders you wish to upload.
- Cyberduck will provide a pop-up log regarding whether or not upload was successful; there will be another pop-up message if there are any errors or issues with the upload process (such as if you are not authorized to upload to that bucket).
SFTPGo option:
- Uploading folders or individual files is as simple as clicking and dragging from a folder in File Explorer / Finder into the web application. Alternatively, you can click in the "drop files here to upload" message to browse which files or folders you wish to upload.
- You cannot upload an empty folder, but you can create folder structures within your
-privateand-publicfolders before you begin uploading content. - You also must have some kind of folder structure in place; SFTPGo will not just let you upload "loose" files.

Use the "New Folder" button to create your folder structure(s) before you begin uploading content.
- The web application will show you a file list of all files you are planning to upload so you can confirm you've copied over the right items by filename and immediate filepath. After uploading content, do not forget to hit the save button in the bottom right corner! Otherwise your content will not be uploaded.
- After your upload is complete, you will see your preserved file structure with files. You can change how many search results appear on the screen if you like; the default is 10 results at a time, but you can increase up to 500.
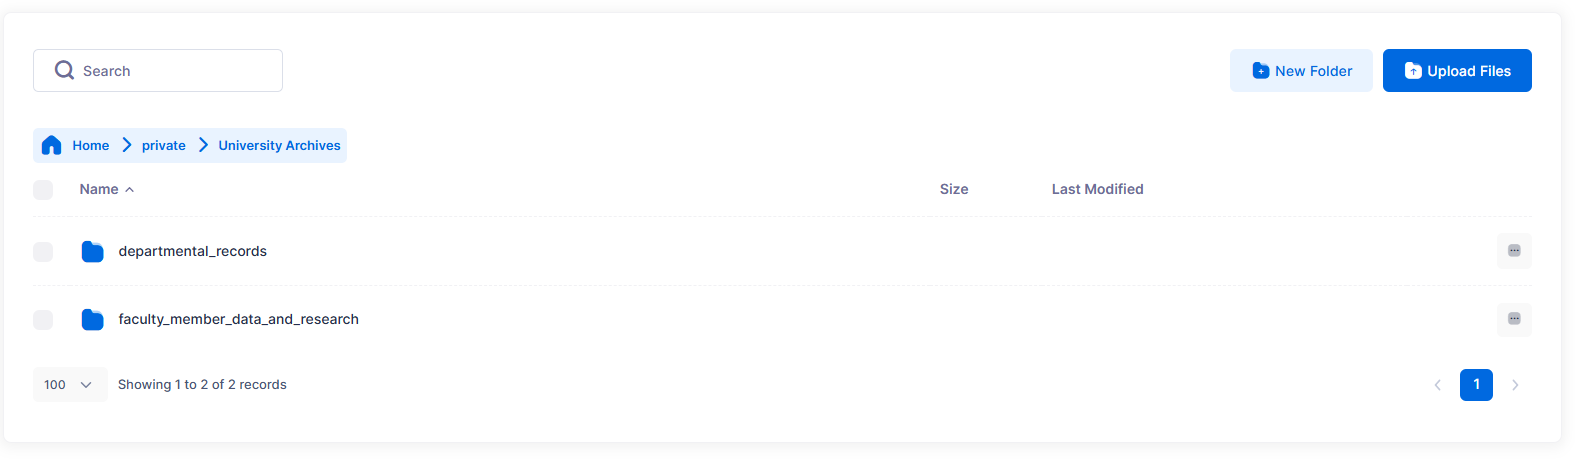
Screen display showing preserved folder structure and the option to change the number of displayed results.