Contribute to the DSpace Development Fund
The newly established DSpace Development Fund supports the development of new features prioritized by DSpace Governance. For a list of planned features see the fund wiki page.
Audience
- Repository Administrator
- Community Administrator
Edit Community
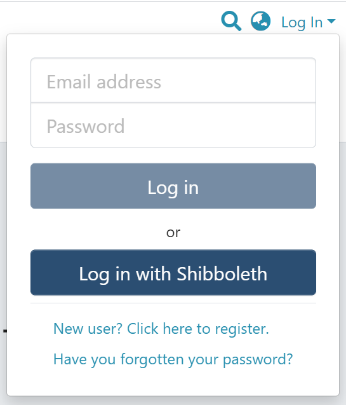
Step 1: Login using your credentials
Step 2: There are multiple ways to start editing a community. One of them is by going to the target community and clicking on the Edit button, the button with the pencil icon, beside the page title. Alternatively, follow the steps provided here.
Rollover cursor on the pencil icon in the admin menu.
Step 3: Click on “Edit” and click on “Community” to proceed with the edit community process.
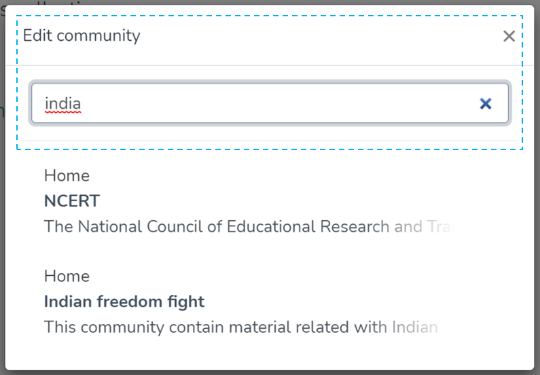
Step 4: A popup showing a list of the communities in the DSpace and a search box will appear. If you are already on the page of the community, it will appear at the top of the list, so you can select it by clicking on it. Otherwise, type the name of the community you want to edit in the search field. Upon typing a few letters of the community’s name, a list of the community(ies) having those word(s) will appear. Click on the target community to initiate editing.
The application will take the user to the edit community form to perform various actions to edit the community. Each tab is explained in a separate process in this document.
- Delete this community – The button provided for deleting the community. Detailed steps are explained in the latter part of this page.
- Tabs – Edit community has a variety of functions, which are grouped logically across various tabs. Below is the summary of these tabs
- Edit Metadata – Tab covers activities related to editing the community’s profile information.
- Assign Roles – This tab allows users to create specific roles for the community, usually, the role of Administrator of the community, see further detail below.
- Curate – Users can set up various workflows related to content curation in this tab
- Authorizations – Under this tab, users can manage various groups and their different access rights in the community, for example, this tab could be used to grant an individual the administrator role, see further detail below.


