Page History
...
This section provides details about various methods to create or update an E Person in DSpace. For example, DSpace allows users to self-register. In addition, users with administrative rights can create and update E Person in the system. Both methods are explained in the latter part of this document.
Table of Contents
Audience
- Repository Administrator
- Community Administrator
- Collection Administrator
- Base User
Add E Person – Self Registration
Step 1: Go to DSpace’s home page and click on the “Log In” link appearing at the top right corner of the screen, and the pop-up will open, as illustrated below screen.
...
Step 6: Enter a password of your choice and re-enter the same password. Followed by this, click on the “Submit Password” button to complete the registration process.

Add E Person – Registration by Administrator
This process is for the user having System, Community, and Collection Administrator rights. Only users with these rights can manage E People.
...
Step 15: Enter a password of your choice and re-enter the same password. Followed by this, click on the “Submit Password” button to complete the password generation process.
Update an Eperson
Eperson updates can be performed by users having System, Community, and Collection Administrator rights. These users can perform the following activities:
- Update Eperson details
- Manage Eperson Log in
- Impersonate Eperson
- Manage user groups membership
- Delete Eperson from DSpace
Update an Eperson – Update details & Manage Log in
Step 1: Go to DSpace’s home page and click on the “Log In” link appearing at the top right corner of the screen, and the pop-up will open, as illustrated below screen.
...
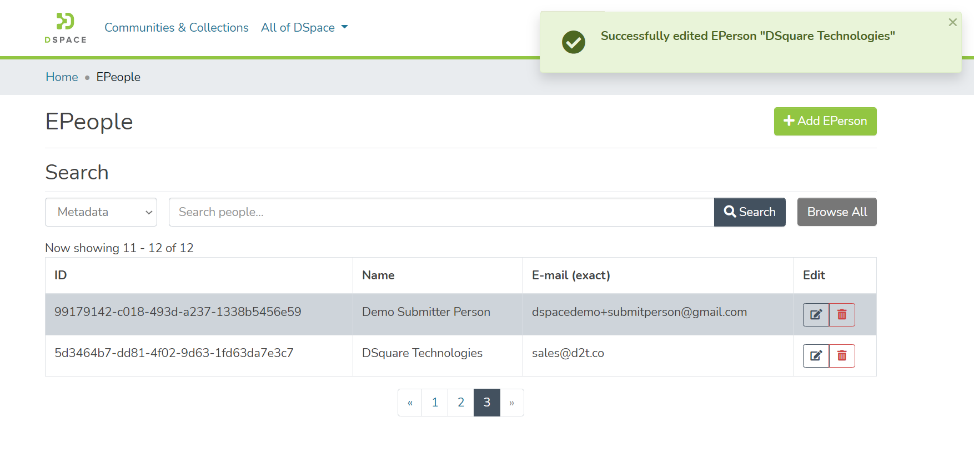
Step 9: Upon successful execution of the update, you will notice a success prompt on the screen.
Update an Eperson – Manage user groups membership
Step 10: Click on the “Add to group” button to initiate the process of adding selected Eperson to a user group.
...
Step 15: You will see this group on the profile page of Eperson as well.

Update an Eperson – Delete Eperson
Step 16: Click the “Delete Eperson” button if you want to delete Eperson from DSpace permanently.
...
Overview
Content Tools