Contribute to the DSpace Development Fund
The newly established DSpace Development Fund supports the development of new features prioritized by DSpace Governance. For a list of planned features see the fund wiki page.
The metadata registry maintains a list of various metadata schemas in DSpace. These metadata schemas consist of different metadata elements. However, DSpace requires the qualified Dublin Core schema.
Audience
- Repository Administrator
- Community Administrator
Create Metadata Registry
This process is for System and Community Administrator user profiles.
Step 1: Click on the “Log In” link appearing at the top right corner of the DSpace home page, and the pop-up will open, as illustrated in the below screen.
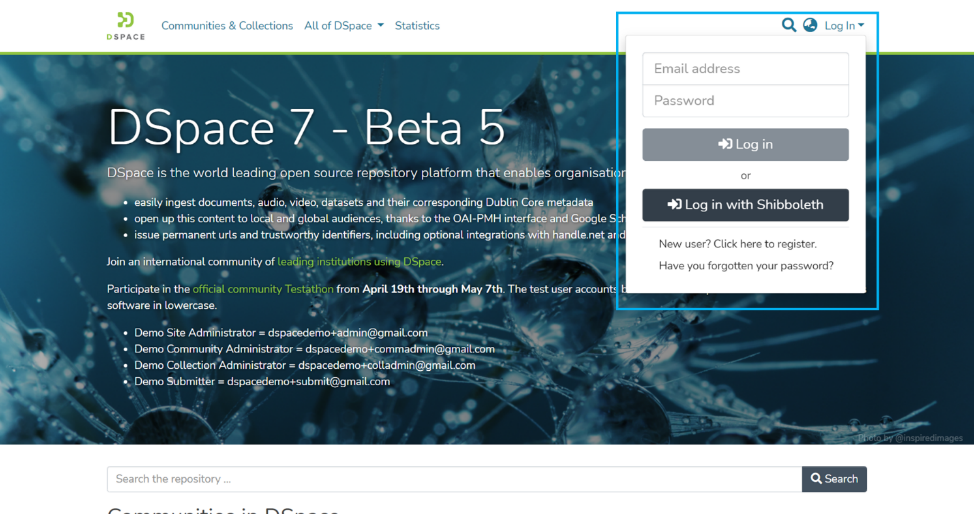
Step 2: Enter your user id and password and click on the login button for logging in to DSpace.

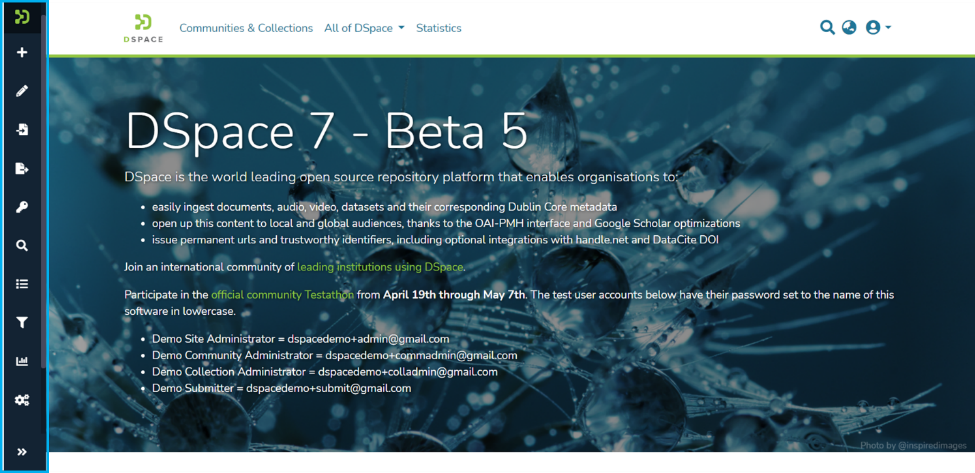
Step 3: Users with administrative rights will see the admin menu on the left-hand side of the screen, as shown in the below illustration.
Step 4: Roll over your cursor over the administration menu and click on Registries. Click on Metadata to go to the Metadata Registries.

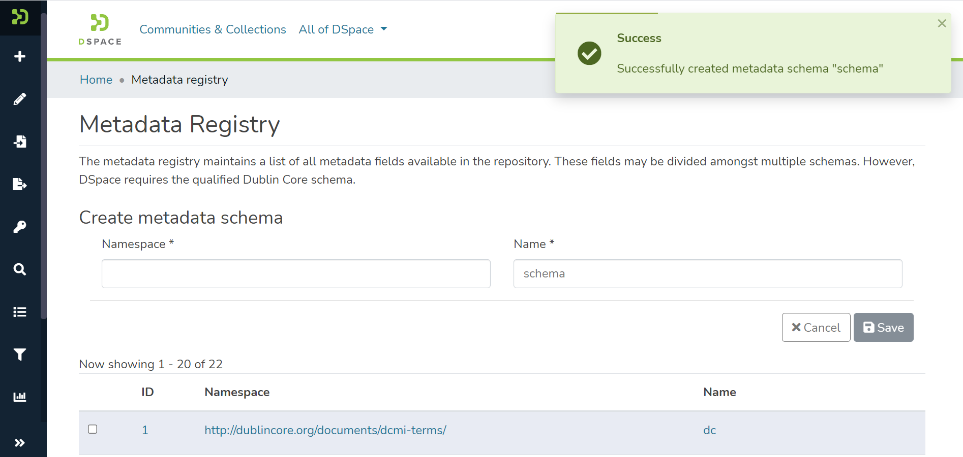
Step 5: Enter the value of your choice in the ‘Namespace’ field and the short value in the ‘Name’ field.

Step 6: Click on the Save button to create a Metadata schema. A success prompt will appear upon metadata schema creation in the DSpace.
Step 7: Scroll down the list to see the schema added. Click on the namespace or name value to access the metadata schema.

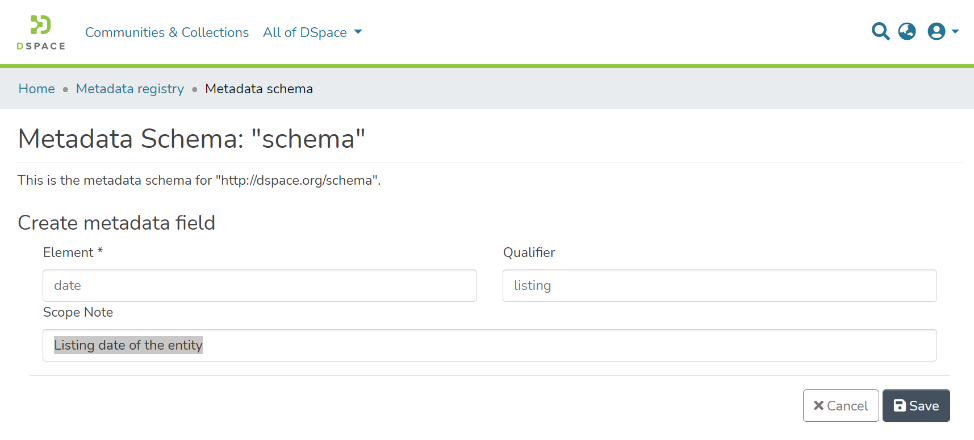
Step 8: Enter desired values in ‘Element,’ ‘Qualifier,’ and ‘scope note.’
- Element is the primary value in the metadata schema. For example, suppose the date is required to be added as a metadata element. In that case, the element’s value can be the date.
- Qualifier – Use the Qualifier to segregate the metadata element further. For example, suppose you want to add multiple dates under an element. In that case, users can add various qualifiers for each date type. For example, there can be a content listing date, content de-listing date, and other types of dates.
- Scope Note – Users can enter the definition of the metadata element created to benefit other users.
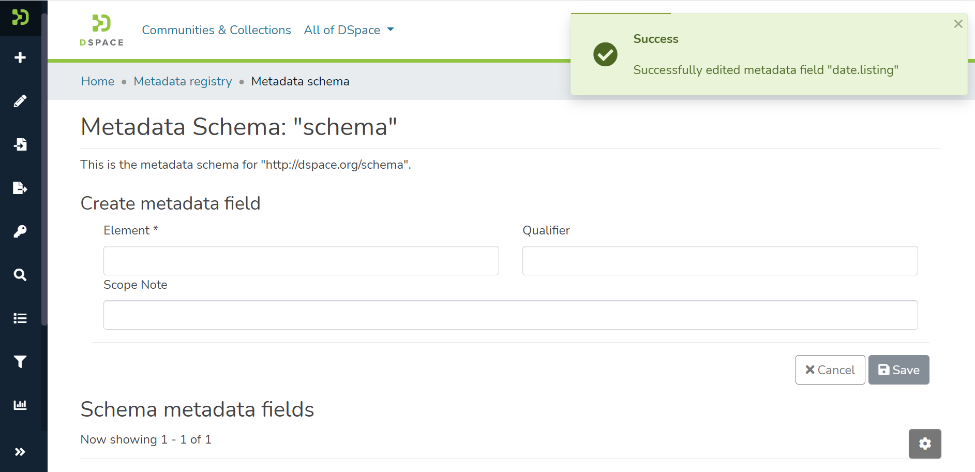
Step 9: Click on the Save button to add an element to the selected metadata schema. You will see a confirmation prompt upon the successful addition of the element.

Metadata Registry Management
This process is for System and Community Administrator user profiles. Under metadata registry management, users can update or delete metadata elements or metadata registries.
Step 1: Go to the home page of DSpace and click on the “Log In” link appearing at the top right corner of the screen, and the pop-up will open, as illustrated in the below screen.
Step 2: Enter your user id and password and click on the login button for logging in to DSpace.
Step 3: Users with administrative rights will see the admin menu on the left-hand side of the screen, as shown in the below illustration.
Step 4: Roll over your cursor over the administration menu and click on Registries. Click on Metadata to go to the Metadata Registries.
Step 5: Click on the namespace or name of the Metadata schema you want to edit.
Step 6: Click on the metadata element you want to edit. Upon clicking the target element, its values will be populated in the corresponding fields under the Edit Metadata fields section, as shown below.
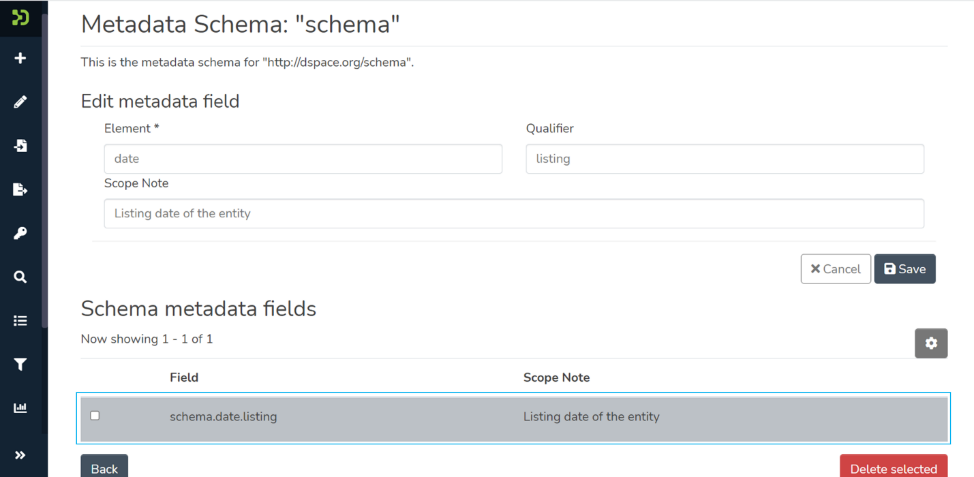
Step 7: Update the value under the target field(s) and click on the ‘Save’ button to save them. A success prompt will appear upon successful update. In addition, an updated metadata element will appear in the metadata schema.
Delete Metadata Schema
Step 1: Go to the home page of DSpace and click on the “Log In” link appearing at the top right corner of the screen, and the pop-up will open, as illustrated in the below screen.
Step 2: Enter your user id and password and click on the login button for logging in to DSpace.
Step 3: Users with administrative rights will see the admin menu on the left-hand side of the screen, as shown in the below illustration.
Step 4: Roll over your cursor over the administration menu and click on Registries. Click on Metadata to go to the Metadata Registries.
Step 5: Click on the namespace or name of the Metadata schema under which you want to delete an element.
Step 6: Click on the checkbox appearing on the left of the metadata element you want to delete.
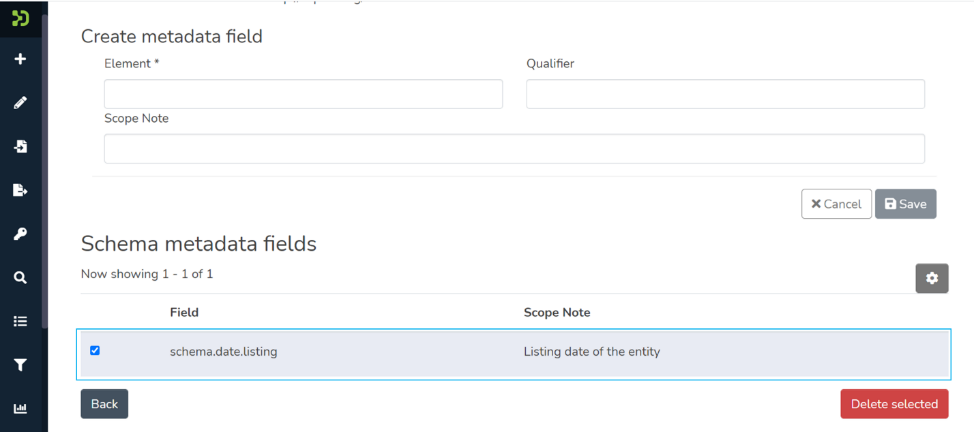
Step 7: Click on the ‘Delete selected’ button appearing in red at the bottom of the page. Upon successful deletion of the element, you will see a prompt confirming deletion of the field.

Step 8: To delete the entire metadata schema, click on the checkbox appearing on the left of the target metadata schema(s).
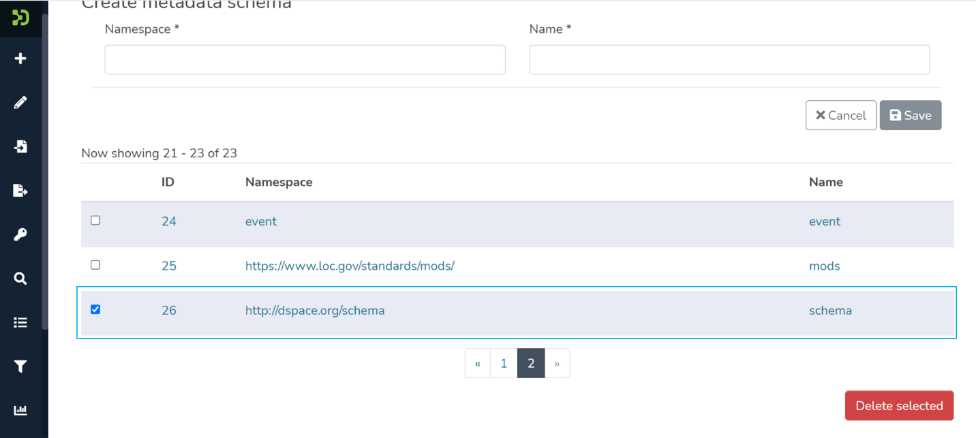
Step 9: Click on the ‘Delete selected’ button appearing in red at the bottom of the page. Upon successful deletion of the element, you will see a prompt confirming deletion of the field.

Overview
Content Tools
All content on the LYRASIS Wiki is licensed under the CC BY (Attribution) license![]() , unless otherwise noted.
, unless otherwise noted.