Contribute to the DSpace Development Fund
The newly established DSpace Development Fund supports the development of new features prioritized by DSpace Governance. For a list of planned features see the fund wiki page.
User groups in DSpace are meant for creating a group of E-People. These groups can be assigned access rights to allow users to perform multiple activities or manage content access in the repository.
This section provides steps to add or update a User group in the application.
Audience
- Repository Administrator
- Community Administrator
Add a user group
This process is for users having System and Community Administrator rights. As these user profiles can add and manage E People.
Step 1: Click on the "Log In" link at the top right corner of the DSpace's homepage, and the pop-up will open, as illustrated below the screen.

Step 2: Enter your user id and password and click on the "Log in" button to enter into DSpace.

Step 3: Users with administrative rights will see the admin menu on the left-hand side of the screen, as shown in the below illustration.

Step 4: Rollover your cursor over the administration menu, click on "Access Control," and click on the "Groups" link.

Step 5: Click on the "Add Group" button to create a Group.

Step 6: The "Group Name" is compulsory. To benefit a broader user base, a description of the Group is a good practice.
The "Save" button will get activated upon entering the group name.

Step 7: Upon successfully adding Group in DSpace, you will see a success prompt on the screen.

Step 8: The Group created will appear in the Group's list as highlighted below.

Manage a user group
The System, Community, and Collection administrator profiles can update user group(s). These users can perform the following activities:
- Update group details
- Delete group
- Add/remove E-people
- Add/Remove Subgroups
Update group details
Step 1: Click on the "Log In" link at the top right corner of the DSpace's homepage, and the pop-up will open, as illustrated below the screen.
Step 2: Enter your user id and password and click on the "Log in" button to enter into DSpace.
Step 3: Users with administrative rights will see the admin menu on the left-hand side of the screen, as shown in the below illustration.
Step 4: Rollover your cursor over the administration menu, click on "Access Control," and click on the "Groups" link.
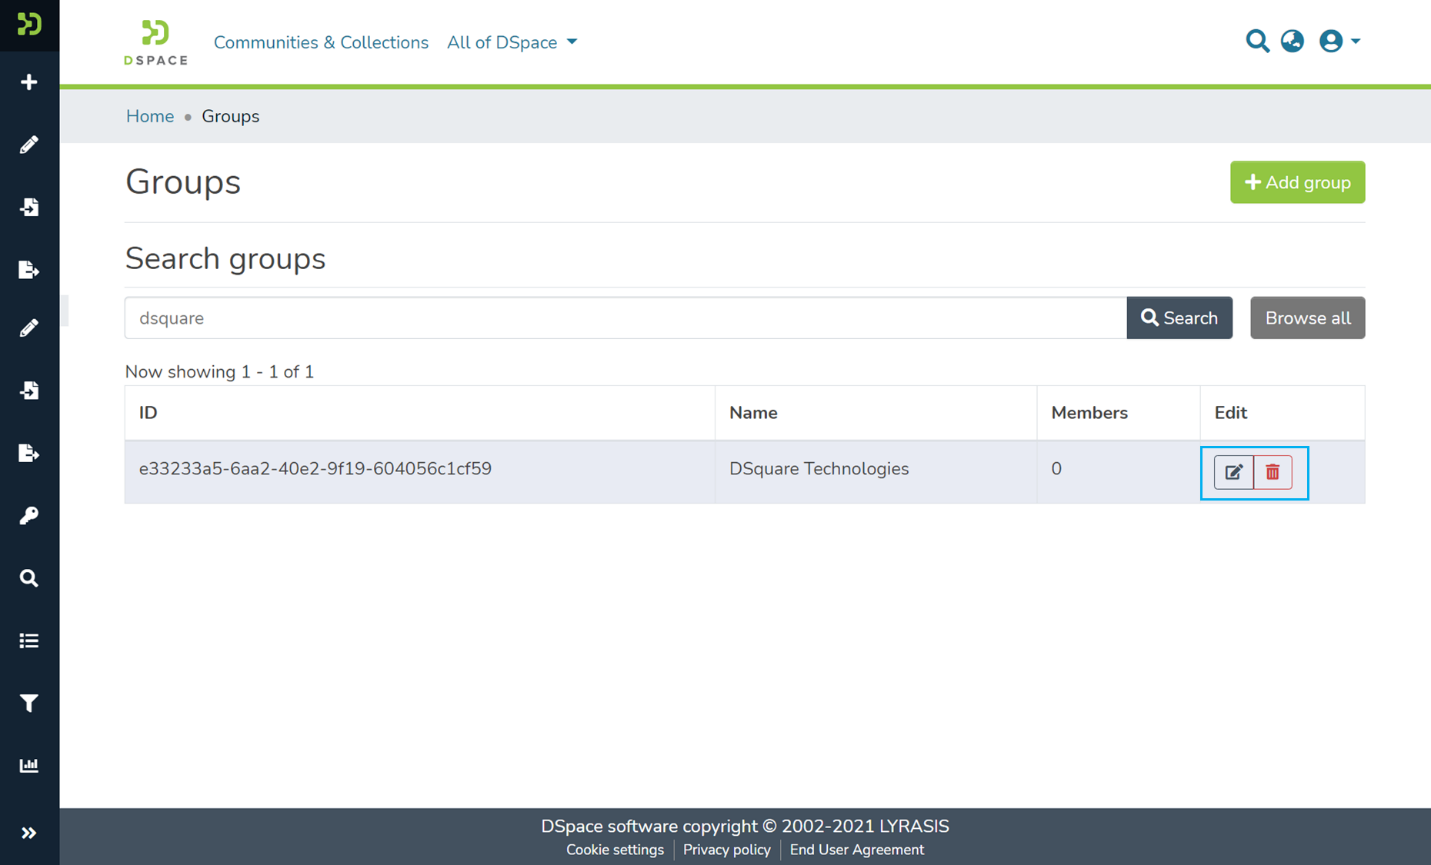
Step 5: Users can find the Group required to be edited or deleted by scrolling down the Groups list or entering Group's metadata in the search field on the group page. Please see the illustration below showing an example.
The user group table shows the following details
- ID: Unique ID generated in DSpace for each Group
- Name: Name of Group as entered during group creation
- Members: A count of Epeople were added to the Group as members.

Step 6: Click on the
- "Edit" button in the Edit column to edit the Group.
- "Delete" button to delete the Group from DSpace permanently.
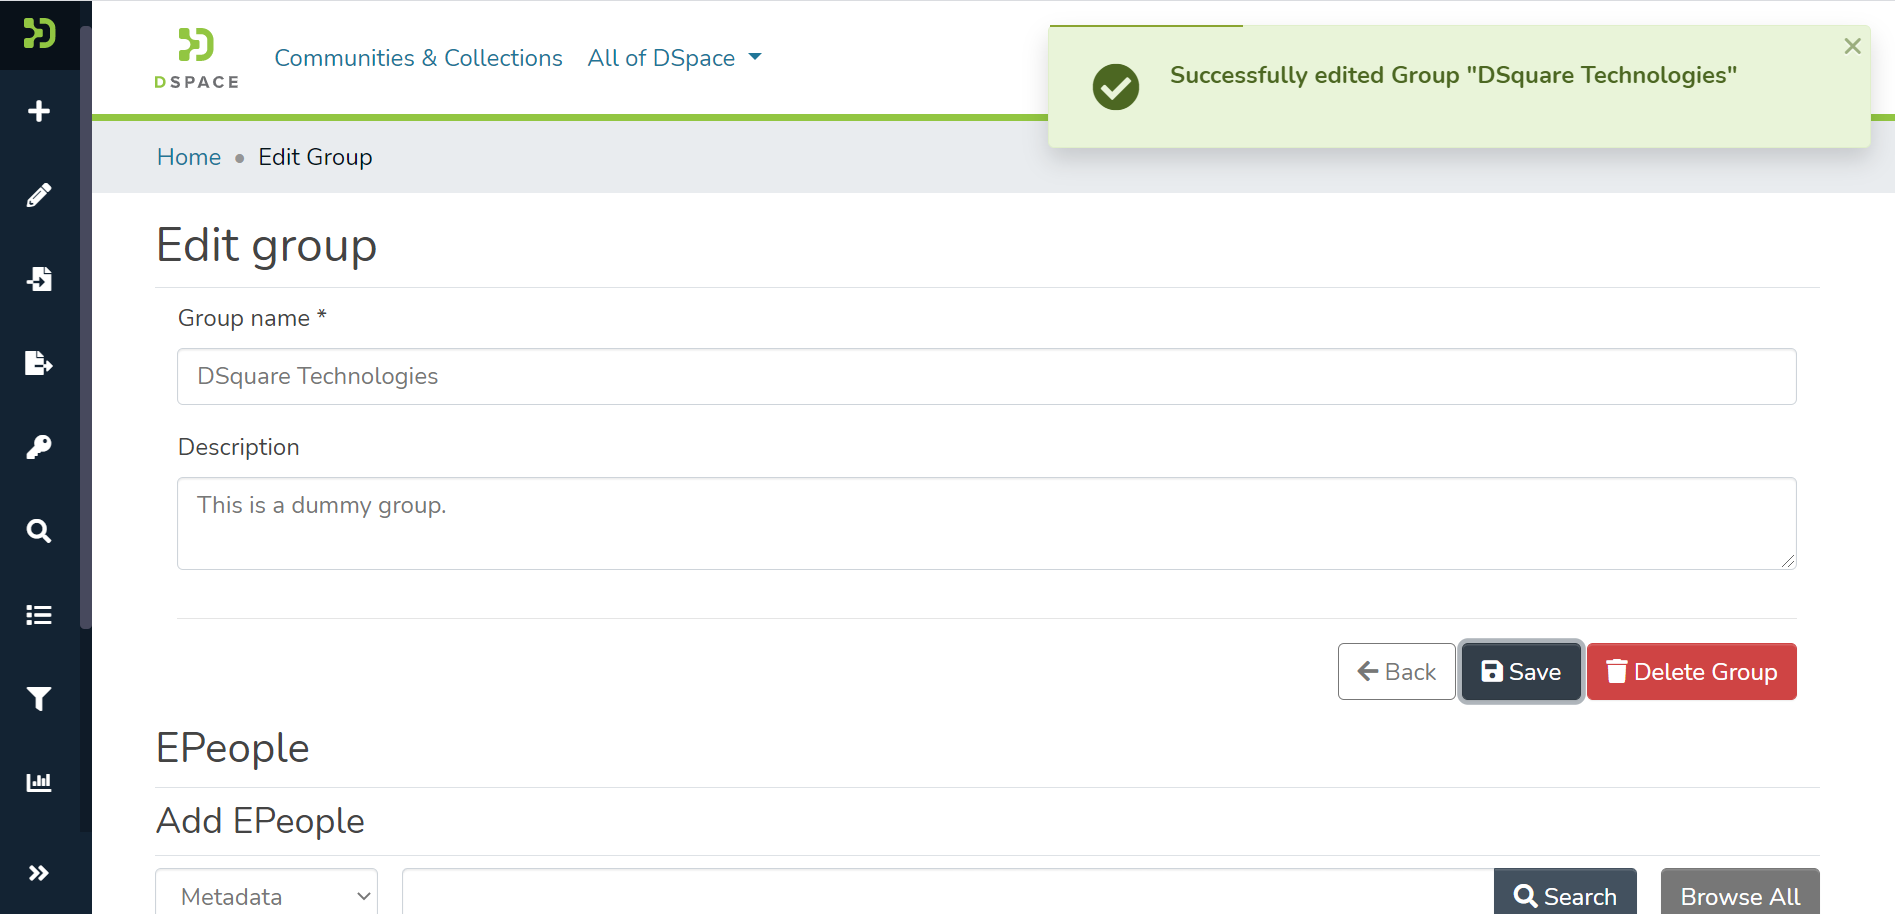
Step 7: You can make the following updates on the Edit group page
- Update group details: Update the Group name and description.
- Delete Group: Permanently delete the Group from DSpace.
- Add/Manage People: Add Epeople to the Group using the search and browse function. Or delete existing group members using the delete option.
- Add/Manage subgroups: Add existing groups as subgroups using the search and browse function. Or delete existing subgroups using the delete option.

Step 8: Update the group name and description to update the group details and click on the "Save" button.
Step 9: A success prompt will appear, confirming a successful update as displayed below.
Delete Group
Step 10: Click on the "Delete Group" button to permanently delete the Group from DSpace.

Step 11: DSpace will show you a confirmation prompt to re-assess your decision of deleting the Group. Click on "Delete" if you want to continue, or click "Cancel" to return.
Please note that the Group, once deleted, can not be recovered.

Step 12: Users will see a success prompt confirming the user group deletion, as demonstrated below.

Add/Manage EPeople
Step 13: Scroll down to the Epeople section to find the user(s). Use metadata values to search Epeople and click the "Search" button, or click the "Browse All" button to list EPeople.

Step 14: Click on the add button '+' next to each user name to add that user as a group member.

Step 15: A prompt will appear confirming the addition of users to the Group. As illustrated below, the "Delete" button will appear next to the user names.

Success prompt confirming user added as members

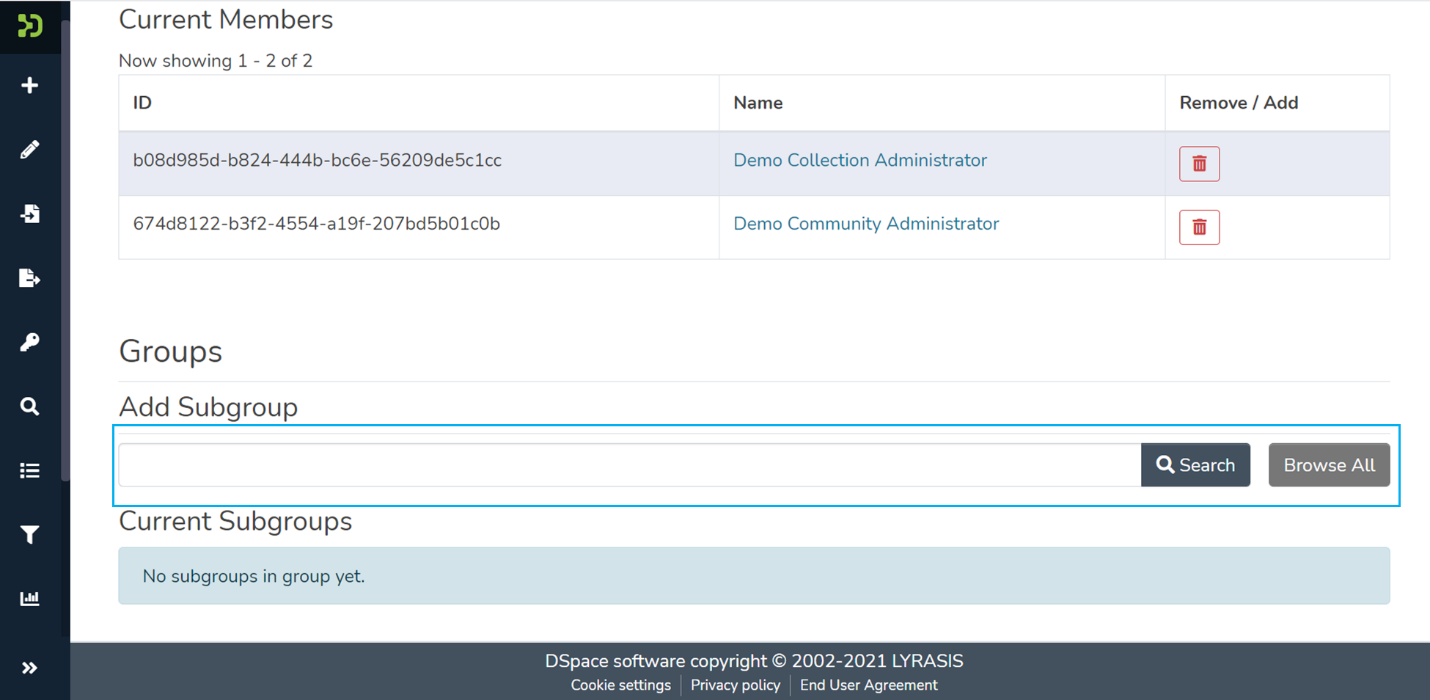
Users appearing as Members under the Current Members section
Add/Manage subgroups
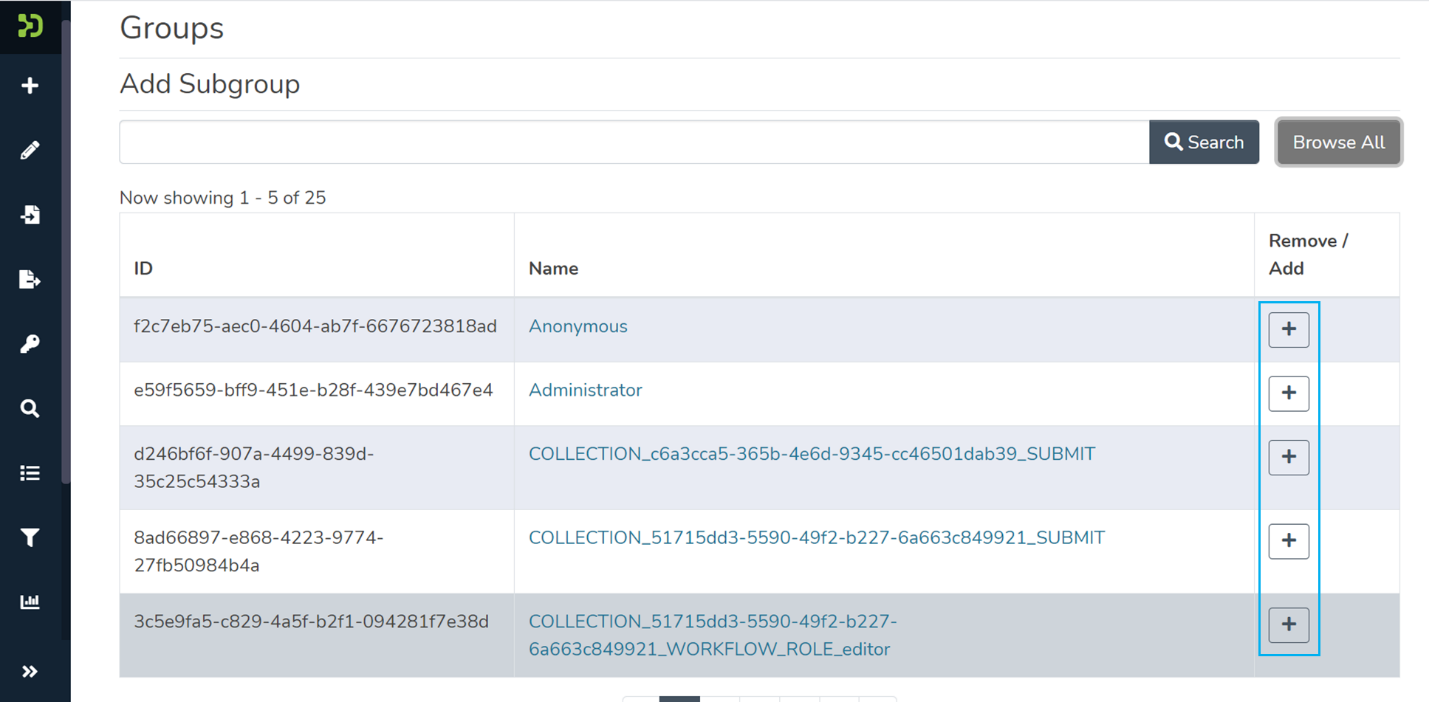
Step 16: Scroll down to the Group section to find the Group (s). Enter a group name and click the "Search" button, or click the "Browse All" button to list groups.
Step 17: Click on the add button '+' next to each group name to add it as a sub-group.
Step 18: A prompt will appear to confirm a subgroup in the Group. As illustrated below, the "Delete" button will appear next to the group names.

Success prompt confirming groups added as subgroups

Groups appearing as subgroups under the Current Subgroups section
Overview
Content Tools
All content on the LYRASIS Wiki is licensed under the CC BY (Attribution) license![]() , unless otherwise noted.
, unless otherwise noted.