Adding a new item to the digital collection is one of the most basic functions of Islandora, so it makes sense to start here.
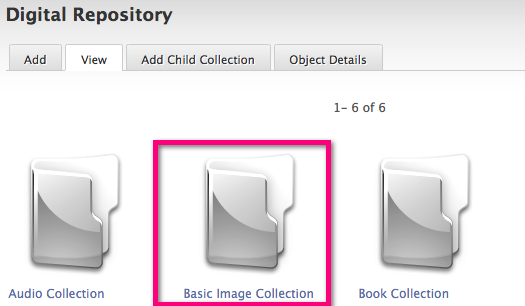
Click the Digital Repository link at the top of the screen to access all currently available collections.

What you are seeing here are all of the collections that are sub-collections, or "Children" of a top-level collection object. Islandora understands this as the “Root” collection, and you can configure which collection is your root collection under the Islandora Configuration screen.
Each of the demo collections is installed as part of a “solution pack,” and each “solution pack,” supports a different type of content (such as PDFs or large images.). In the following example, you are led through the process of adding a new item to the Basic Images collection. For more information on Solution Packs, see Chapter 5: Islandora Solution Packs

*Note: The file-types supported by a collection are governed by content models. The basic images collection supports files with the following extensions: JPEG, JPG, GIF, and PNG.
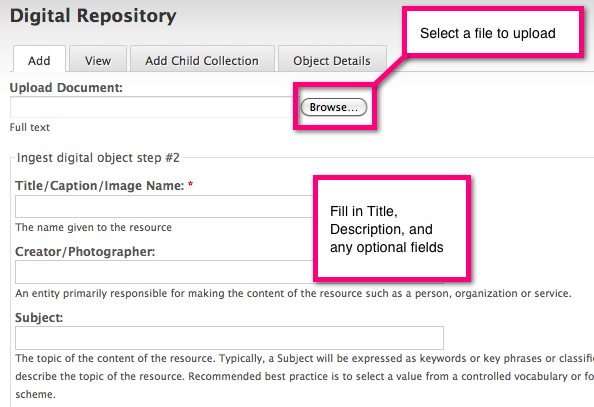
Click the Add tab at the top of the collection to begin the ingest process. You will be asked to choose a content model, but only one is available (Islandora basic image content model) so you can simply click Next.
Each item added to a collection in Islandora is affiliated with a metadata record. This metadata form can be created or edited using the XML forms modules. For details, see Chapter 5: XML Forms. All Solution Packs come with a form that will be filled out on ingest. Required fields are indicated with a small asterisk by the field label. From here, you can also select the “Browse” button and select a file from your local hard drive. Items added to the digital repository can be accompanied by a detailed metadata record. Most of the fields are optional - in this case, only a title and description are required. You must also attach a JPEG file by clicking the Browse button and selecting the file from your computer.

Fill in the fields and then click Submit at the bottom of the page. Once your item has been created, you will see a message at the top of the screen indicating that your new item has been created, and its Persistent Identifier (PID).

Once the ingest process is complete you will be returned to the Basic Images collection. Scroll down to find the item you added and click the link to verify that it was added successfully.

You have successfully added a new item to a collection.