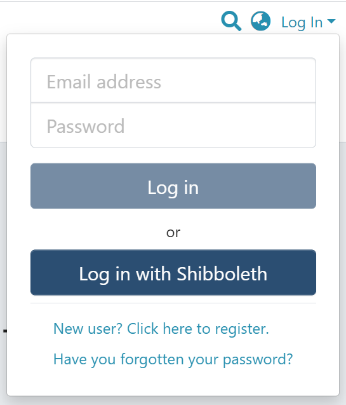
Step 1: Login using your credentials

Step 2: There are multiple ways to navigate to the controls to delete a community. One of them is by going to the target community and clicking on the button with the pencil icon next to the community title ie the ‘Edit community’ button. Alternatively, follow the steps provided here.

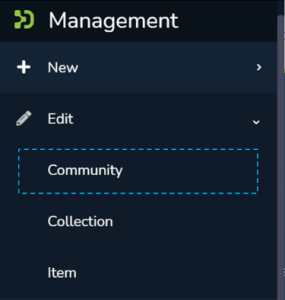
Step 3: Click on “Edit” and click on “Community” to proceed with the edit community process.


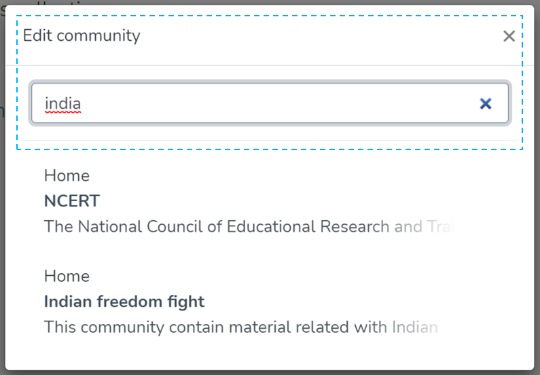
Step 4: A popup showing a search box and a list of communities will appear. Type the name of the community you want to edit in the search field. Upon typing a few letters of the community’s name, a list of the communities having those letters or words will appear. Click on the target community to initiate editing.

Step 5: The application will take the user to the edit community form. To initiate the community deletion process, the user needs to click on the ‘Delete this community’ button.

Step 6: Click on the Confirm button to continue with the community deletion or click on the Cancel button to return to the previous page.

Users will be re-directed to the homepage of DSpace upon successful completion of the community delete, and a popup confirming the community deletion will appear.
