The community is the primary storage level in the DSpace’s storage hierarchy that holds sub-community and collections. This document provides an overview of creating, editing, and deleting a community. The documentation below assumes that the user has the relevant authorizations. For example, the admin menu and edit buttons would appear to a user having community administration permission.
If you’re unsure about community administration permissions assigned to your account for the target community, contact your system administrator.
Step 1: Login using your credentials

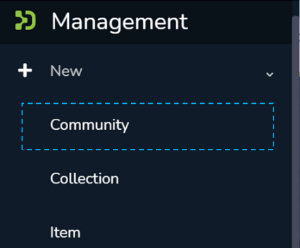
Step 2: Rollover your cursor on the “+” sign

Step 3: Click on the “New” link and click on “Community” to proceed with the community creation.


Step 4: A popup providing the option to either create a Parent community or a sub-community will appear, with a list showing existing communities. Create your new community by either:
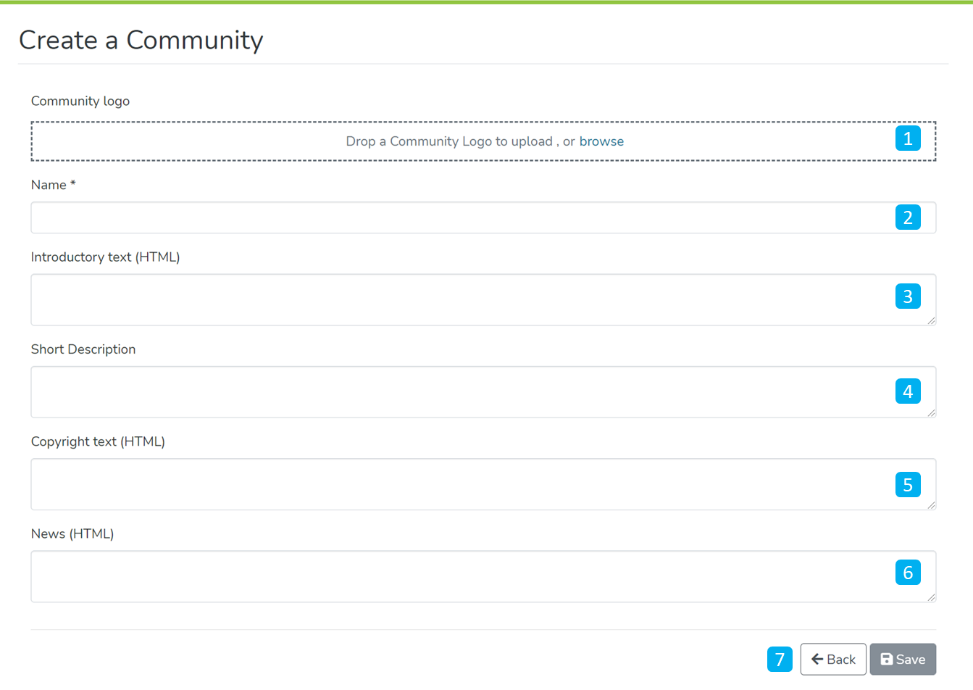
Step 5: As per the user’s choice in the previous step, the application will open the create community or create a sub-community form to populate information regarding the community’s profile. Below is the explanation of the information that needs to be populated on this form.
It is important to understand that both “Create Community” and “Create Sub-community” forms are identical. The critical difference between both is that the “Create Community” form helps create a top-level community while the latter helps create a sub-community within a community or a sub-community.
The description provided below the following screenshot remains identical for both Community and Sub-community creation.

Step 6: Click on the ‘Save’ button to complete the Community creation. A success prompt will pop up upon community creation, and the user will be re-directed to the community homepage.

Success prompt upon community creation

Community homepage