Contribute to the DSpace Development Fund
The newly established DSpace Development Fund supports the development of new features prioritized by DSpace Governance. For a list of planned features see the fund wiki page.
“Embargo an item” helps restrict the Item’s attachment’s access until a future date. A user can embargo an item while submitting it or later by editing it. Both methods to embargo an item are explained below.
Audience
- Repository Administrator
- Community Administrator
- Collection Administrator
- Item Administrator/submitter
Embargo an item during the item submission
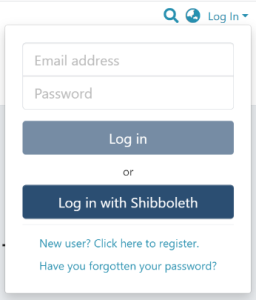
Step 1: Login using your credentials
Step 2: Roll over the cursor on the “+” sign.
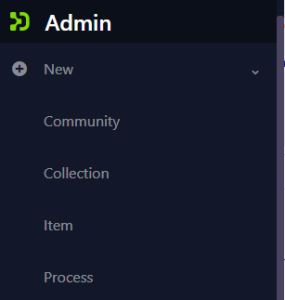
Step 3: Click on “New” and click on “item” to proceed further in the Item addition process

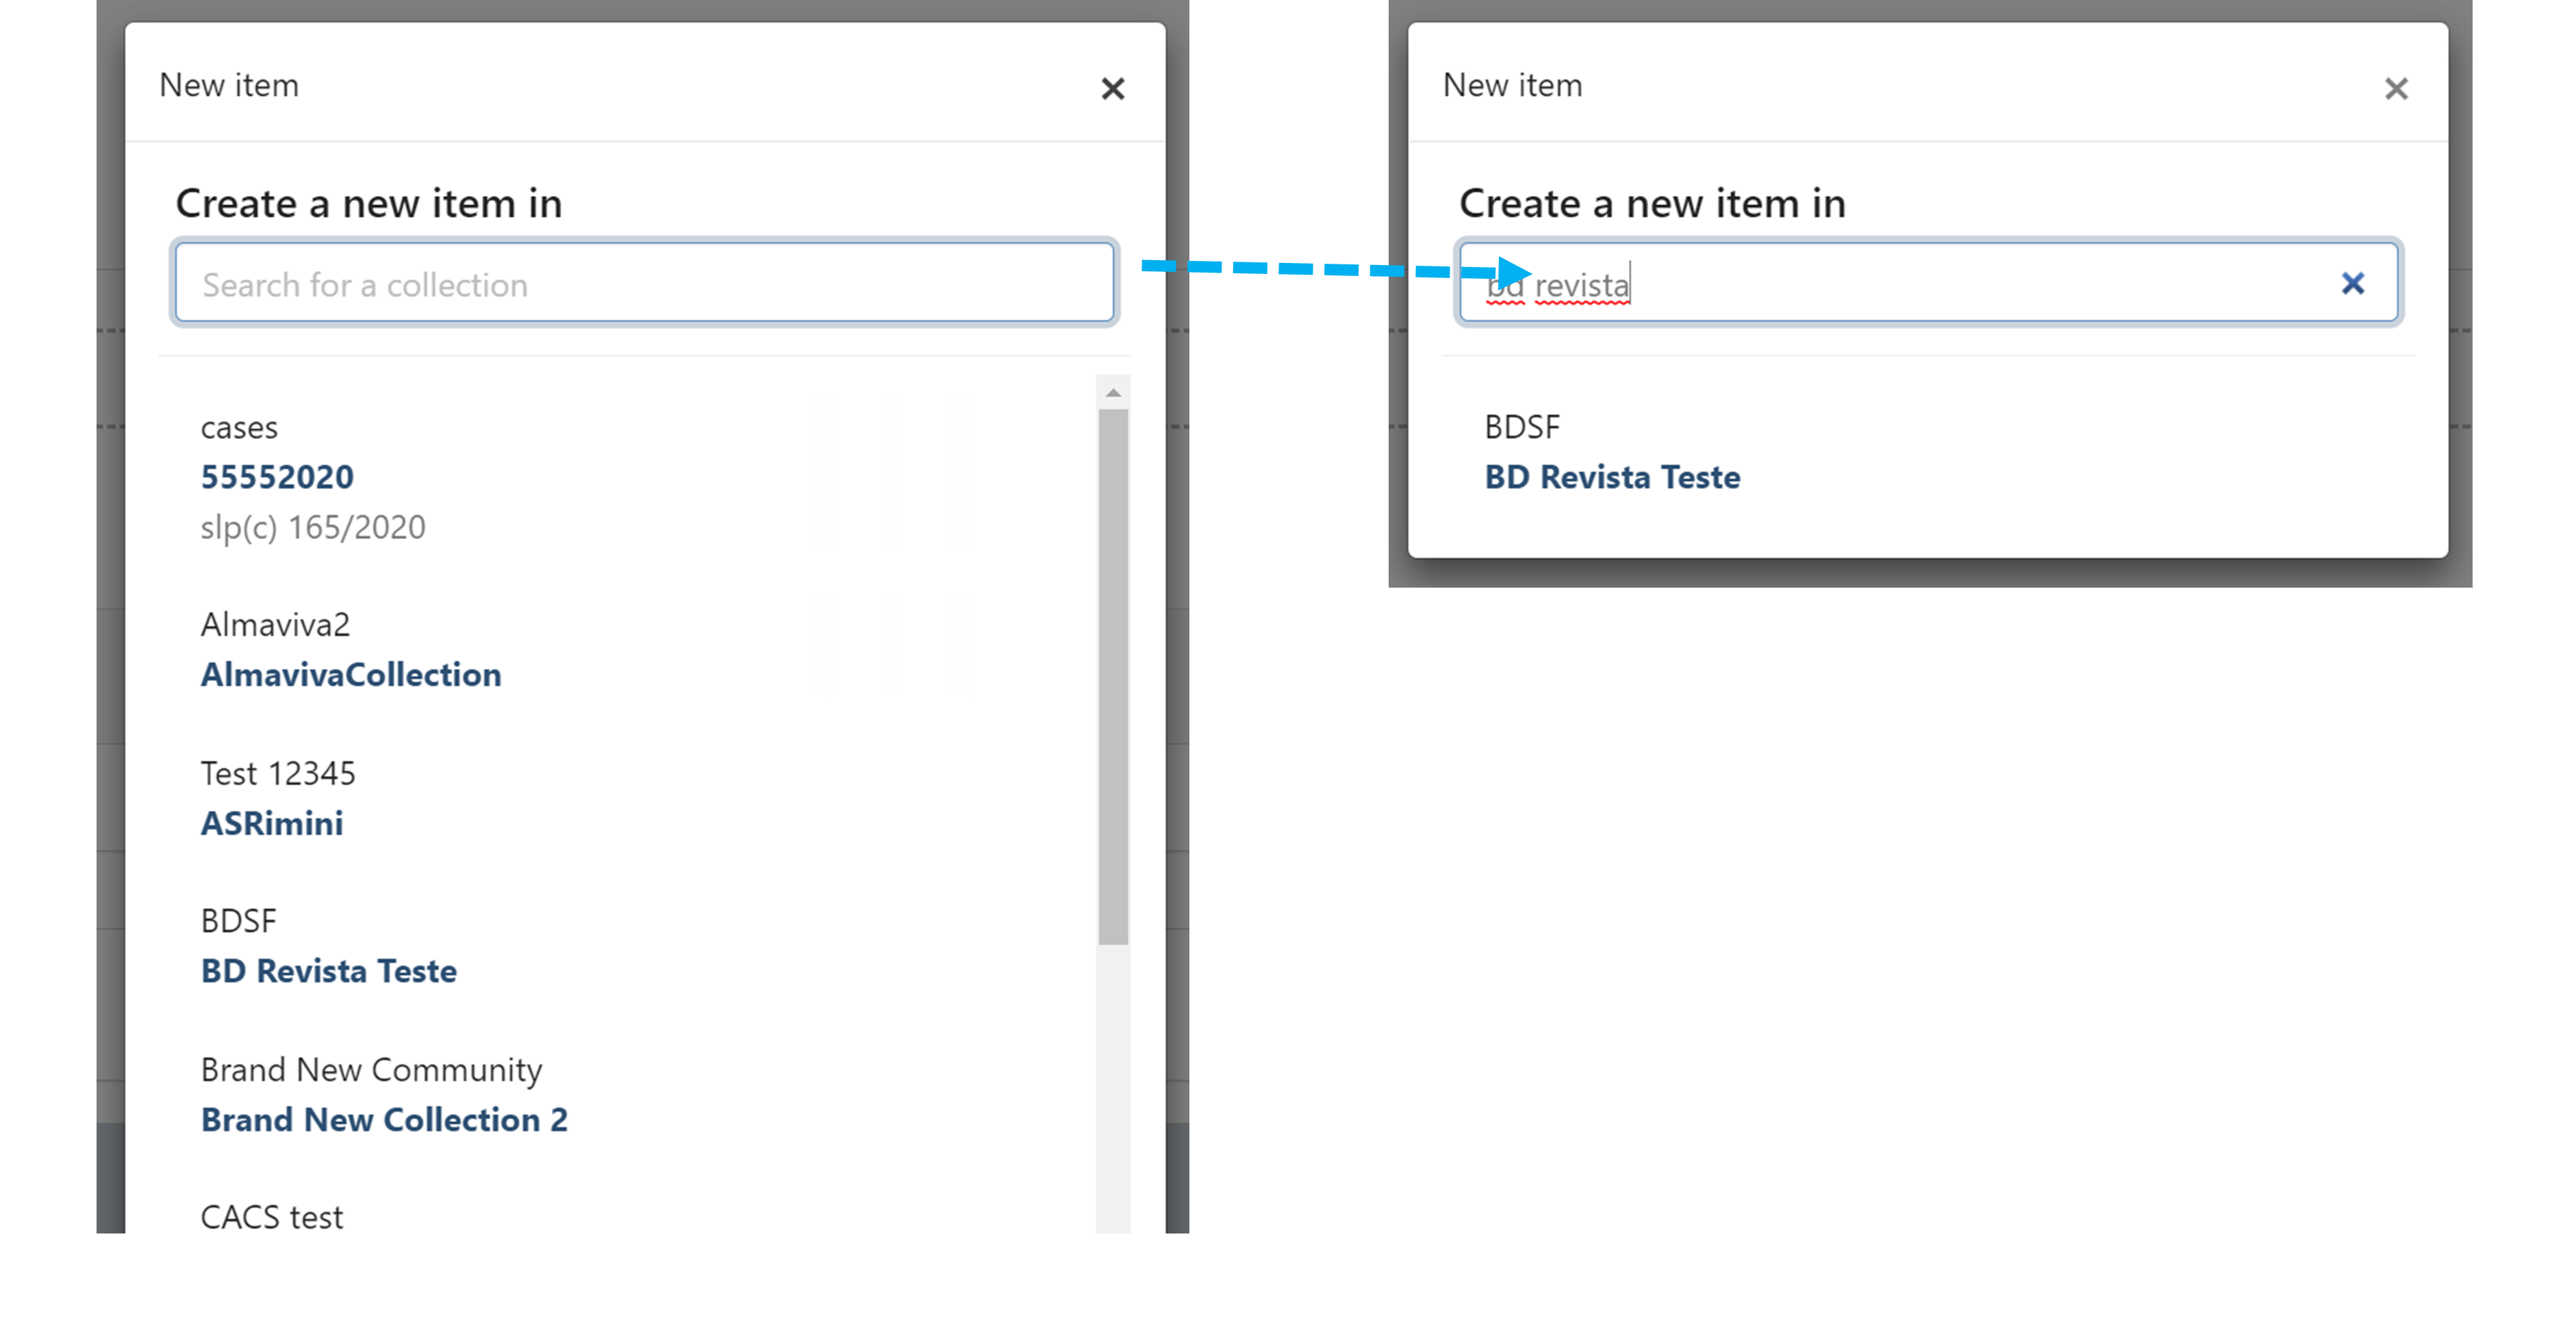
Step 4: A popup window with a collection list will appear. The user can select the target collection by typing its name or scrolling down the collection list. Then, click on the collection to initiate item submission.
Step 5: Users will see the item submission form after selecting the target collection. The first step is to upload attachment(s) in the Item. In DSpace terminology, an attachment is known as a “bitstream.”
Click on the “browse” link to upload attachment(s). Users can upload multiple files by selecting them together or dragging them into the space.

A progress bar showing bitstream upload progress will appear, as demonstrated in the illustration below. In addition, after a successful bitstream upload, a prompt confirming success or failure will appear.

Bitstream upload in progress
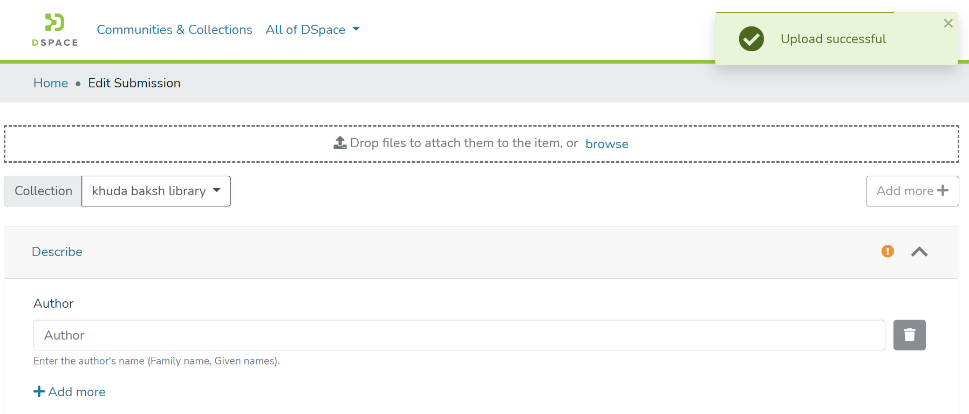
Bitstream Upload Successful
Step 6: After uploading bitstream, the next step is to describe the Item by adding metadata.
Please refer Add Item process for detailed documentation on populating information in the metadata fields.
Step 7: Click on the edit button against any attachment to add embargo policy.

Step 8: Users can apply multiple policies on an attachment, and there are various available options. Click on the dropdown list under the “Access condition” type and select embargo, as highlighted in the screenshot below.
After selecting embargo in the dropdown list, the “Grant access from” date field will be activated. Next, users can choose the future date, after which the attachment should be accessible to the larger set of DSpace users.
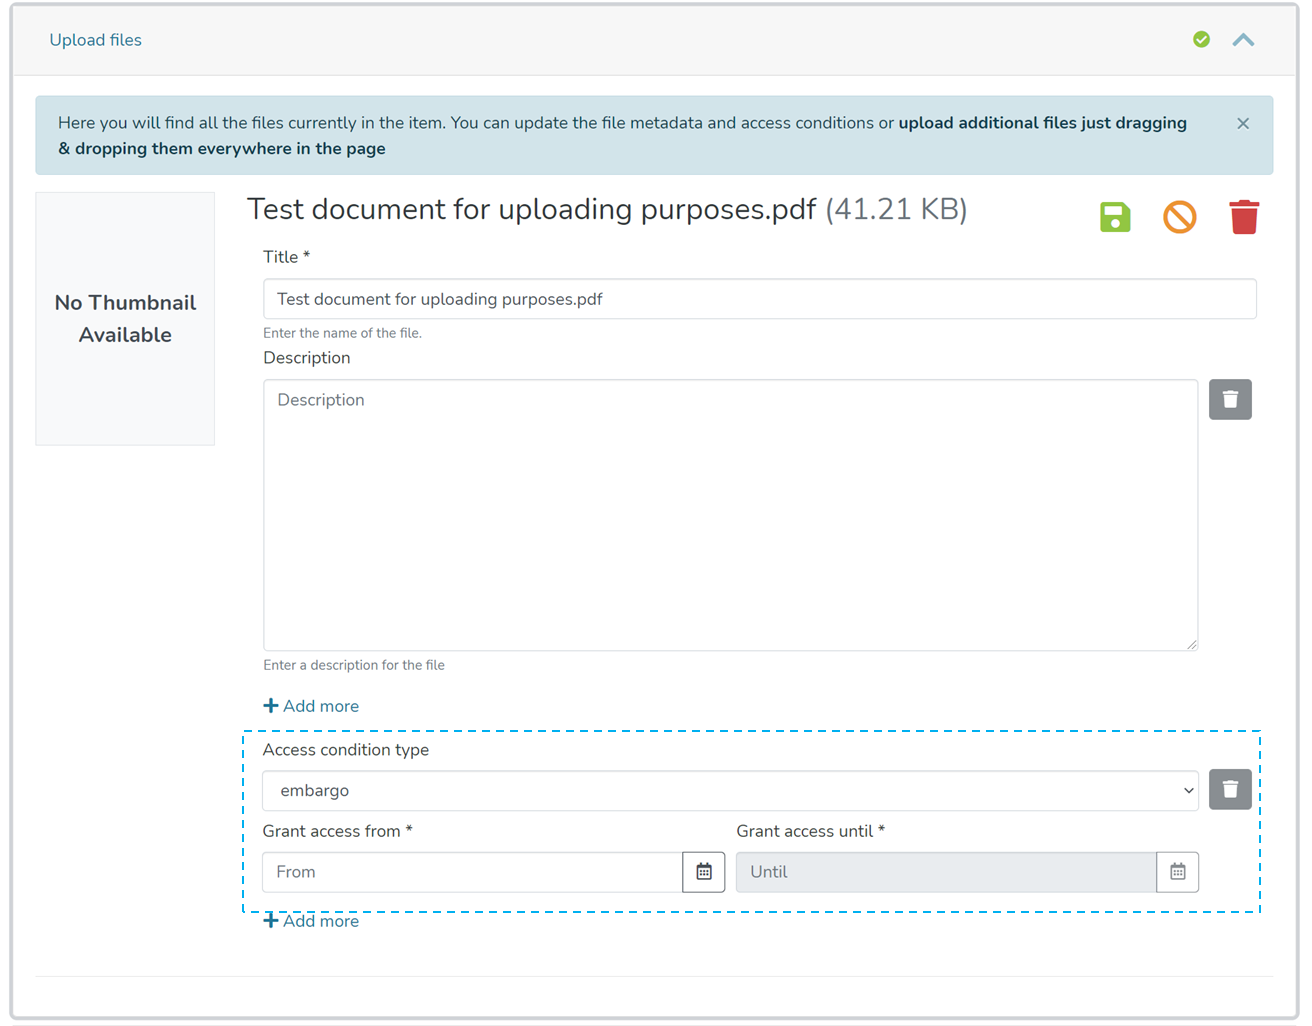
Users can add multiple policies to the attachment by clicking the “Add more” link. For example, a user can define an embargo on an item until a future date. Likewise, a lease policy can keep the attachment open access until another date in the future.
Step 9: After updating all information, the submitter clicks on the “I confirm the license above” checkbox to accept the repository’s license.

Step 10: Click on the “Deposit” button to submit the Item in DSpace. Users will get to see a confirmation prompt upon successful submission of the Item.
Embargo an item via edit item
Step 1: Login using your credentials
Step 2: Go to the Item you want to edit
Users can reach an item through multiple methods, as listed below:
- Search an item
- Browse communities and collections
- Finding an item in the Administration section at Edit > Item
Click on the “Edit” button appearing on the right-hand side of the item title.

Step 3: Click on the “Authorizations” button under the “Status” tab to continue with adding the embargo policy.

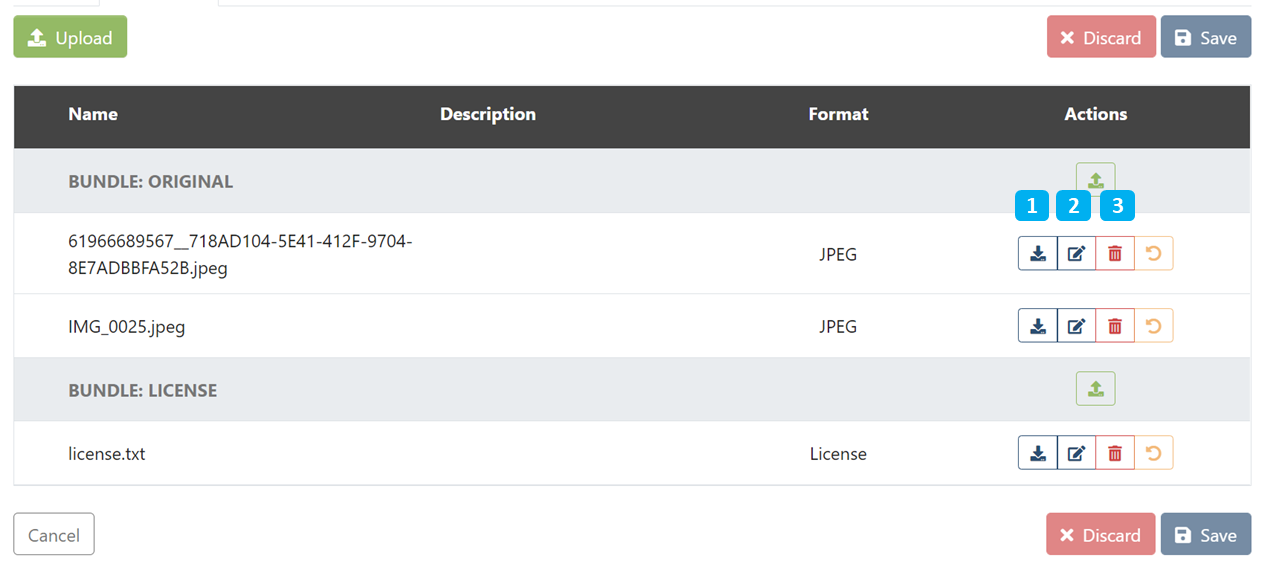
Step 4: The user will see multiple options against each attachment as explained below:
- Download Bitstream: Click on this button to download the attachment on your local device for view.
- Edit Bitstream: Click on the “Edit bitstream” button for editing details. Explained in the next step
- Delete Bitstream: Click on the “Delete Bitstream” button to delete bitstream from the bundle.
Click on the “edit bitstream” button to embargo the attachment.
Step 5: Click on “Edit bitstream’s Policies” to continue with the embargo process.

Step 6: Click on the “Add” button to create the custom embargo policy for the attachment.
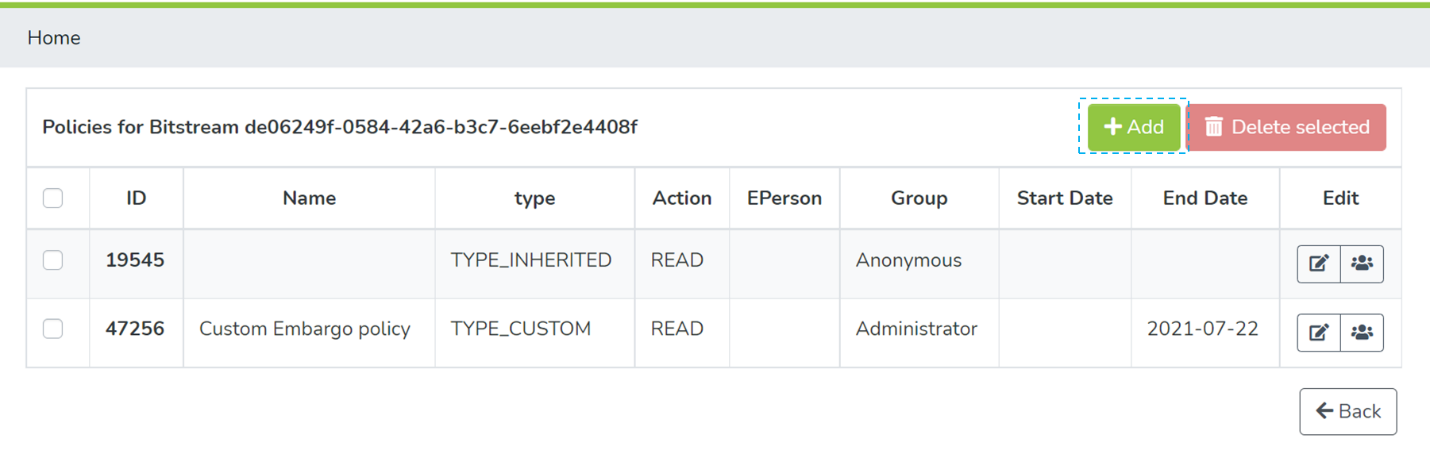
Step 7: Enter details for creating the embargo policy on this form and perform the following actions:
- Select ‘TYPE_CUSTOM’ under ‘Select the policy type’ dropdown menu
- Select ‘READ’ under the ‘Select the action type’ dropdown list.
- Select a future date under the Start Date to determine when the embargo will end. (The "Start Date" represents the embargo date, as it is when the policy will begin to take effect,)
- Select E-Person or a User group
- Click on Save to create the policy

Detailed documentation on various possibilities on this form is available under ‘Edit Bitstream’ user documentation.
Users will see a success prompt upon creating the policy and will be redirected to the bitstream policy page.
Overview
Content Tools
All content on the LYRASIS Wiki is licensed under the CC BY (Attribution) license![]() , unless otherwise noted.
, unless otherwise noted.
2 Comments
Carolyn Sullivan
Is the documentation here correct for changing/creating bitstream embargos? All the bitstreams imported into my repository from 6.3 seem to have the embargo lift date recorded under 'Start Date', not 'End Date'.
Mark Diggory
You are correct, the Start Date on the READ Resource Policy defines the date that the embargo is lifted, not the end date.